DIY Cookie Decorating: Transform Your Home into a Cookie Wonderland


Getting Started with DIY Cookie Decorating
Transforming your home into a cookie wonderland is an exciting and rewarding DIY project. Whether you're gearing up for a festive celebration or simply looking to unleash your creativity, cookie decorating is a delightful way to express yourself. Start by gathering your essential tools: cookie cutters, piping bags, and a selection of vibrant food coloring.
Before diving into decorating, you'll need a solid cookie base. Sugar cookies are a popular choice due to their sturdy nature and mild flavor, which serves as the perfect canvas for your designs. Once baked and cooled, you're ready to begin the artistic process.
Essential Tools and Ingredients
To create stunning cookies, you'll need the right tools and ingredients. Here's a basic list to get you started:
- Cookie cutters in various shapes
- Piping bags and tips
- Edible food coloring
- Royal icing for intricate designs
- Sprinkles and edible glitter for added flair
Having these items on hand will make the decorating process smooth and enjoyable, allowing you to focus on the fun part—creating beautiful cookie designs!
Techniques for Stunning Designs
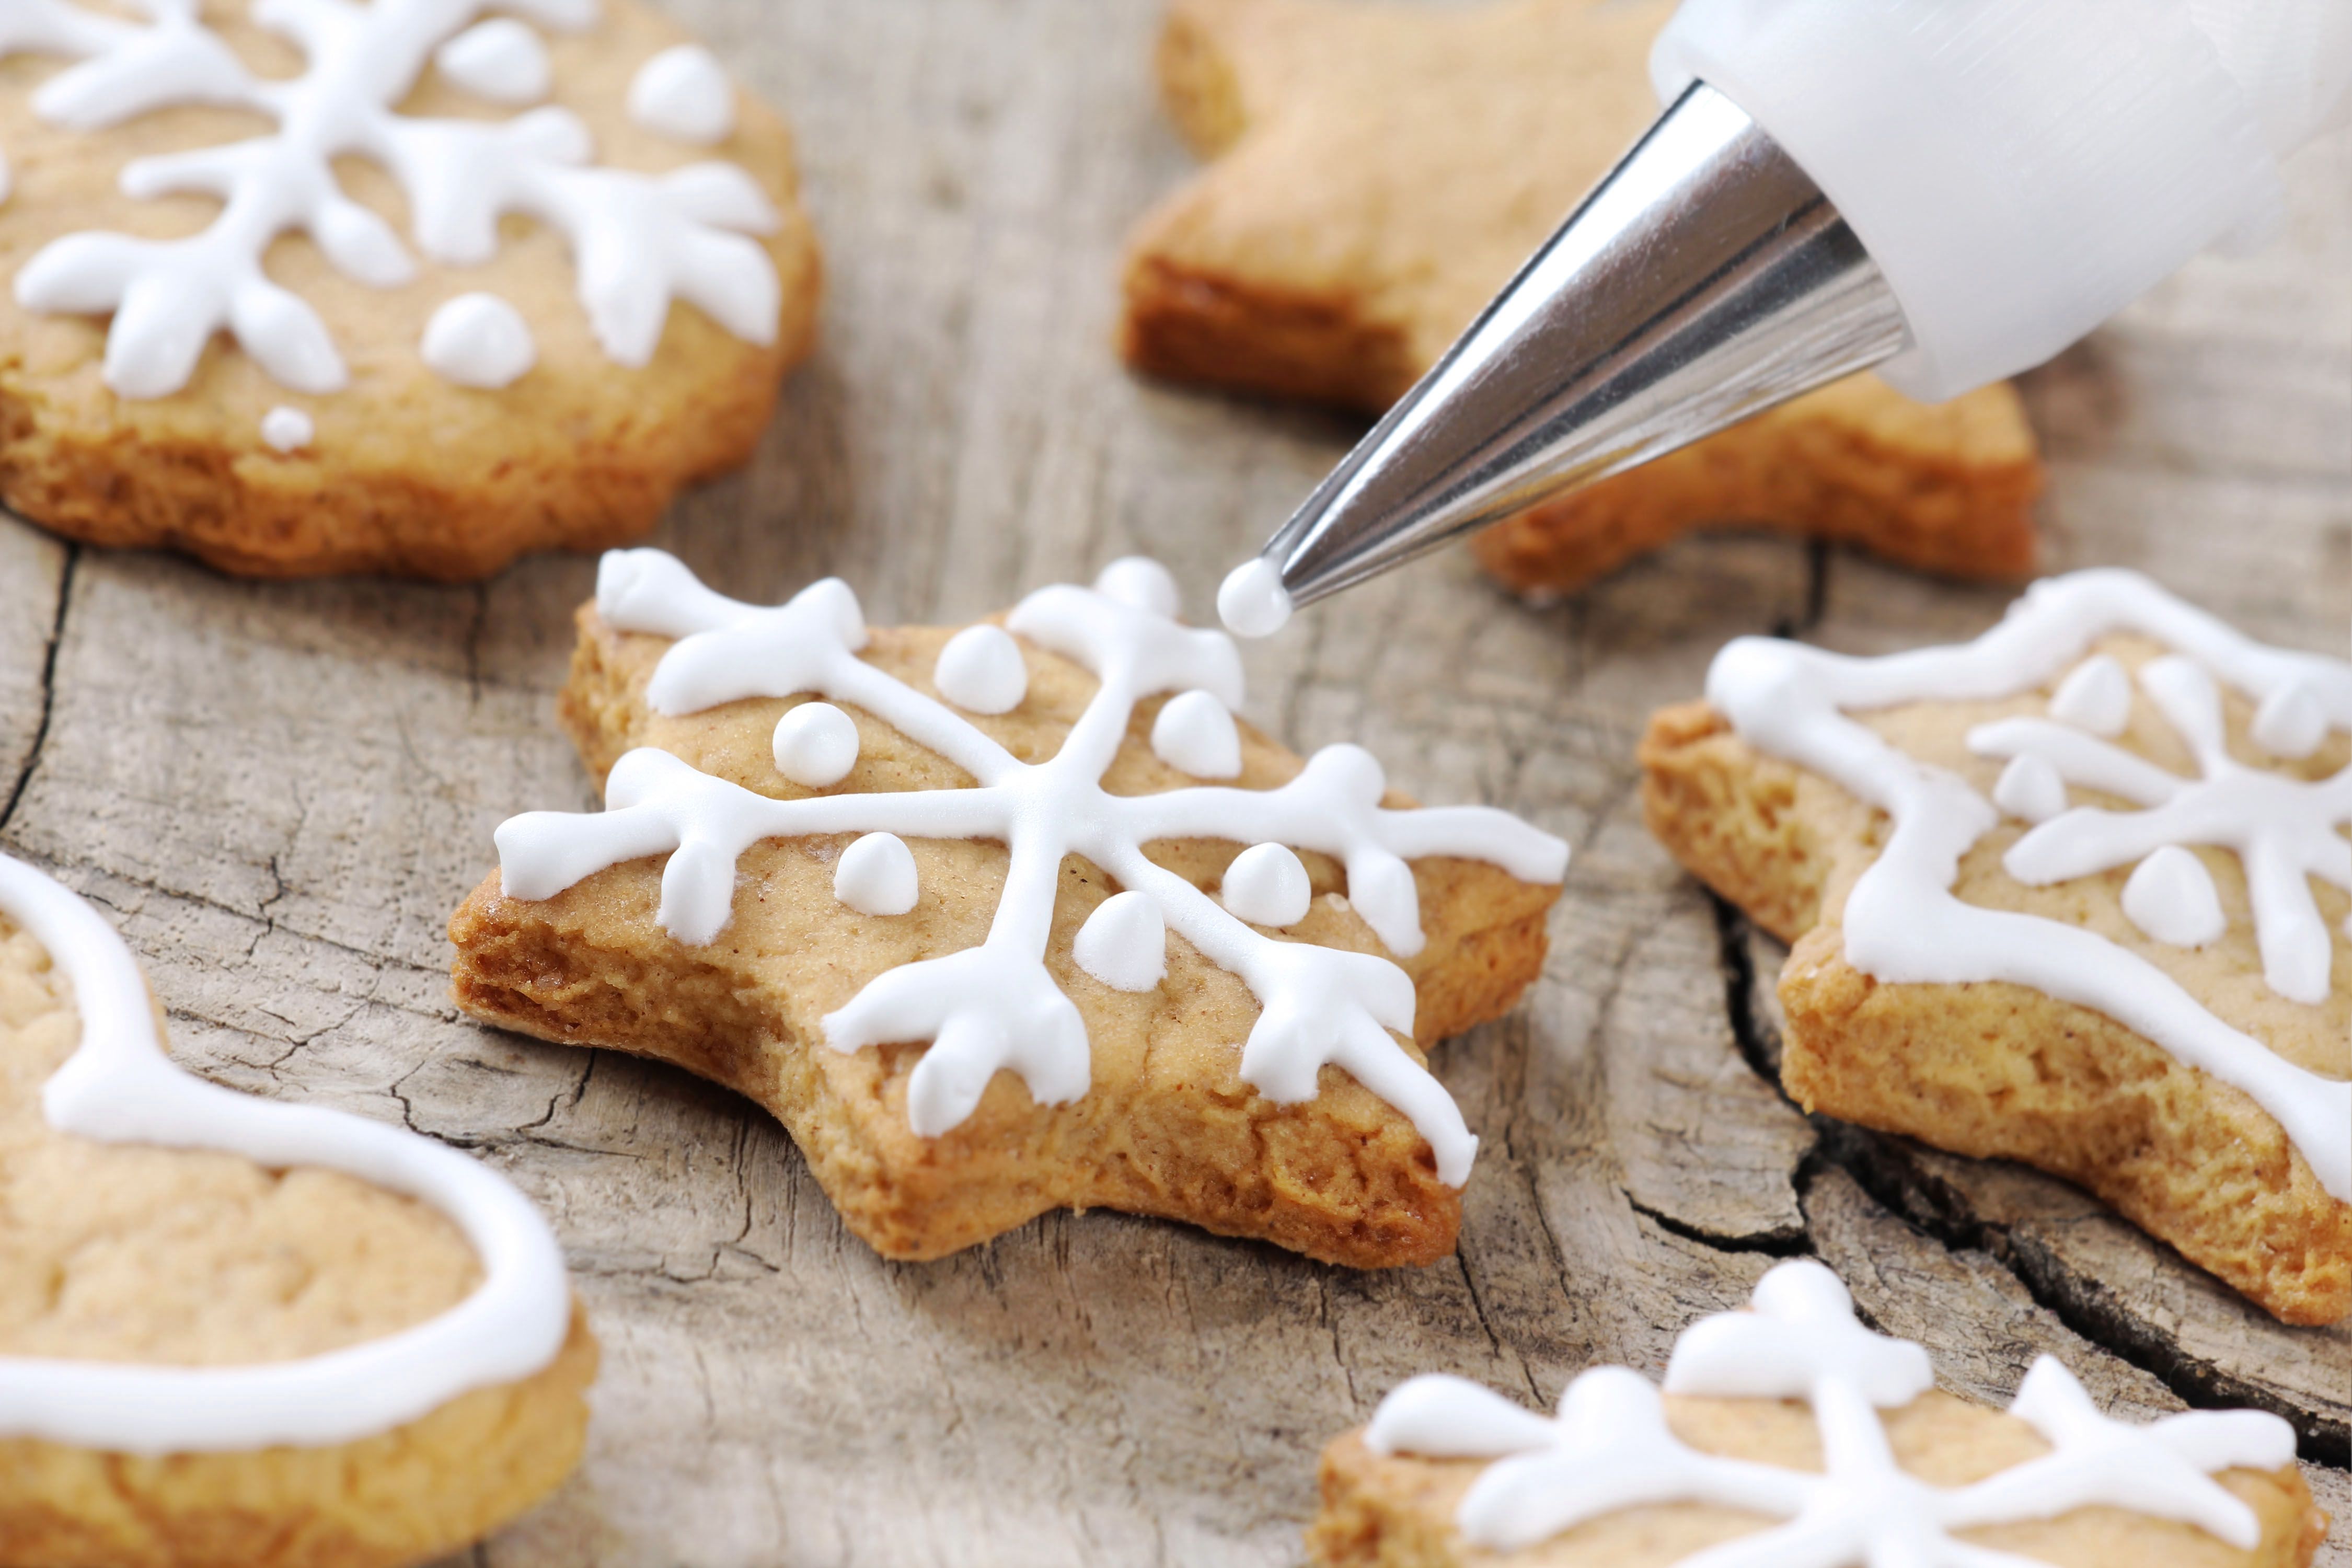
Mastering a few basic techniques can elevate your cookie decorating skills. Start with flooding, a method where you fill the surface of the cookie with a thin layer of icing. This creates a smooth base for adding more detailed designs.
Next, try your hand at piping intricate patterns. Practice makes perfect, so don't be afraid to experiment with different tip sizes and pressure levels to achieve the desired effect. Use a toothpick to create marbled effects by dragging colors through wet icing.
Adding Personal Touches
Personalizing your cookies can make them even more special. Consider adding names, dates, or custom messages to your designs. Use alphabet cookie cutters or freehand with icing for a unique touch.
For themed events, tailor your cookie shapes and decorations to fit the occasion. From holiday motifs to birthday celebrations, the possibilities are endless. Let your imagination guide you as you craft each delectable piece.
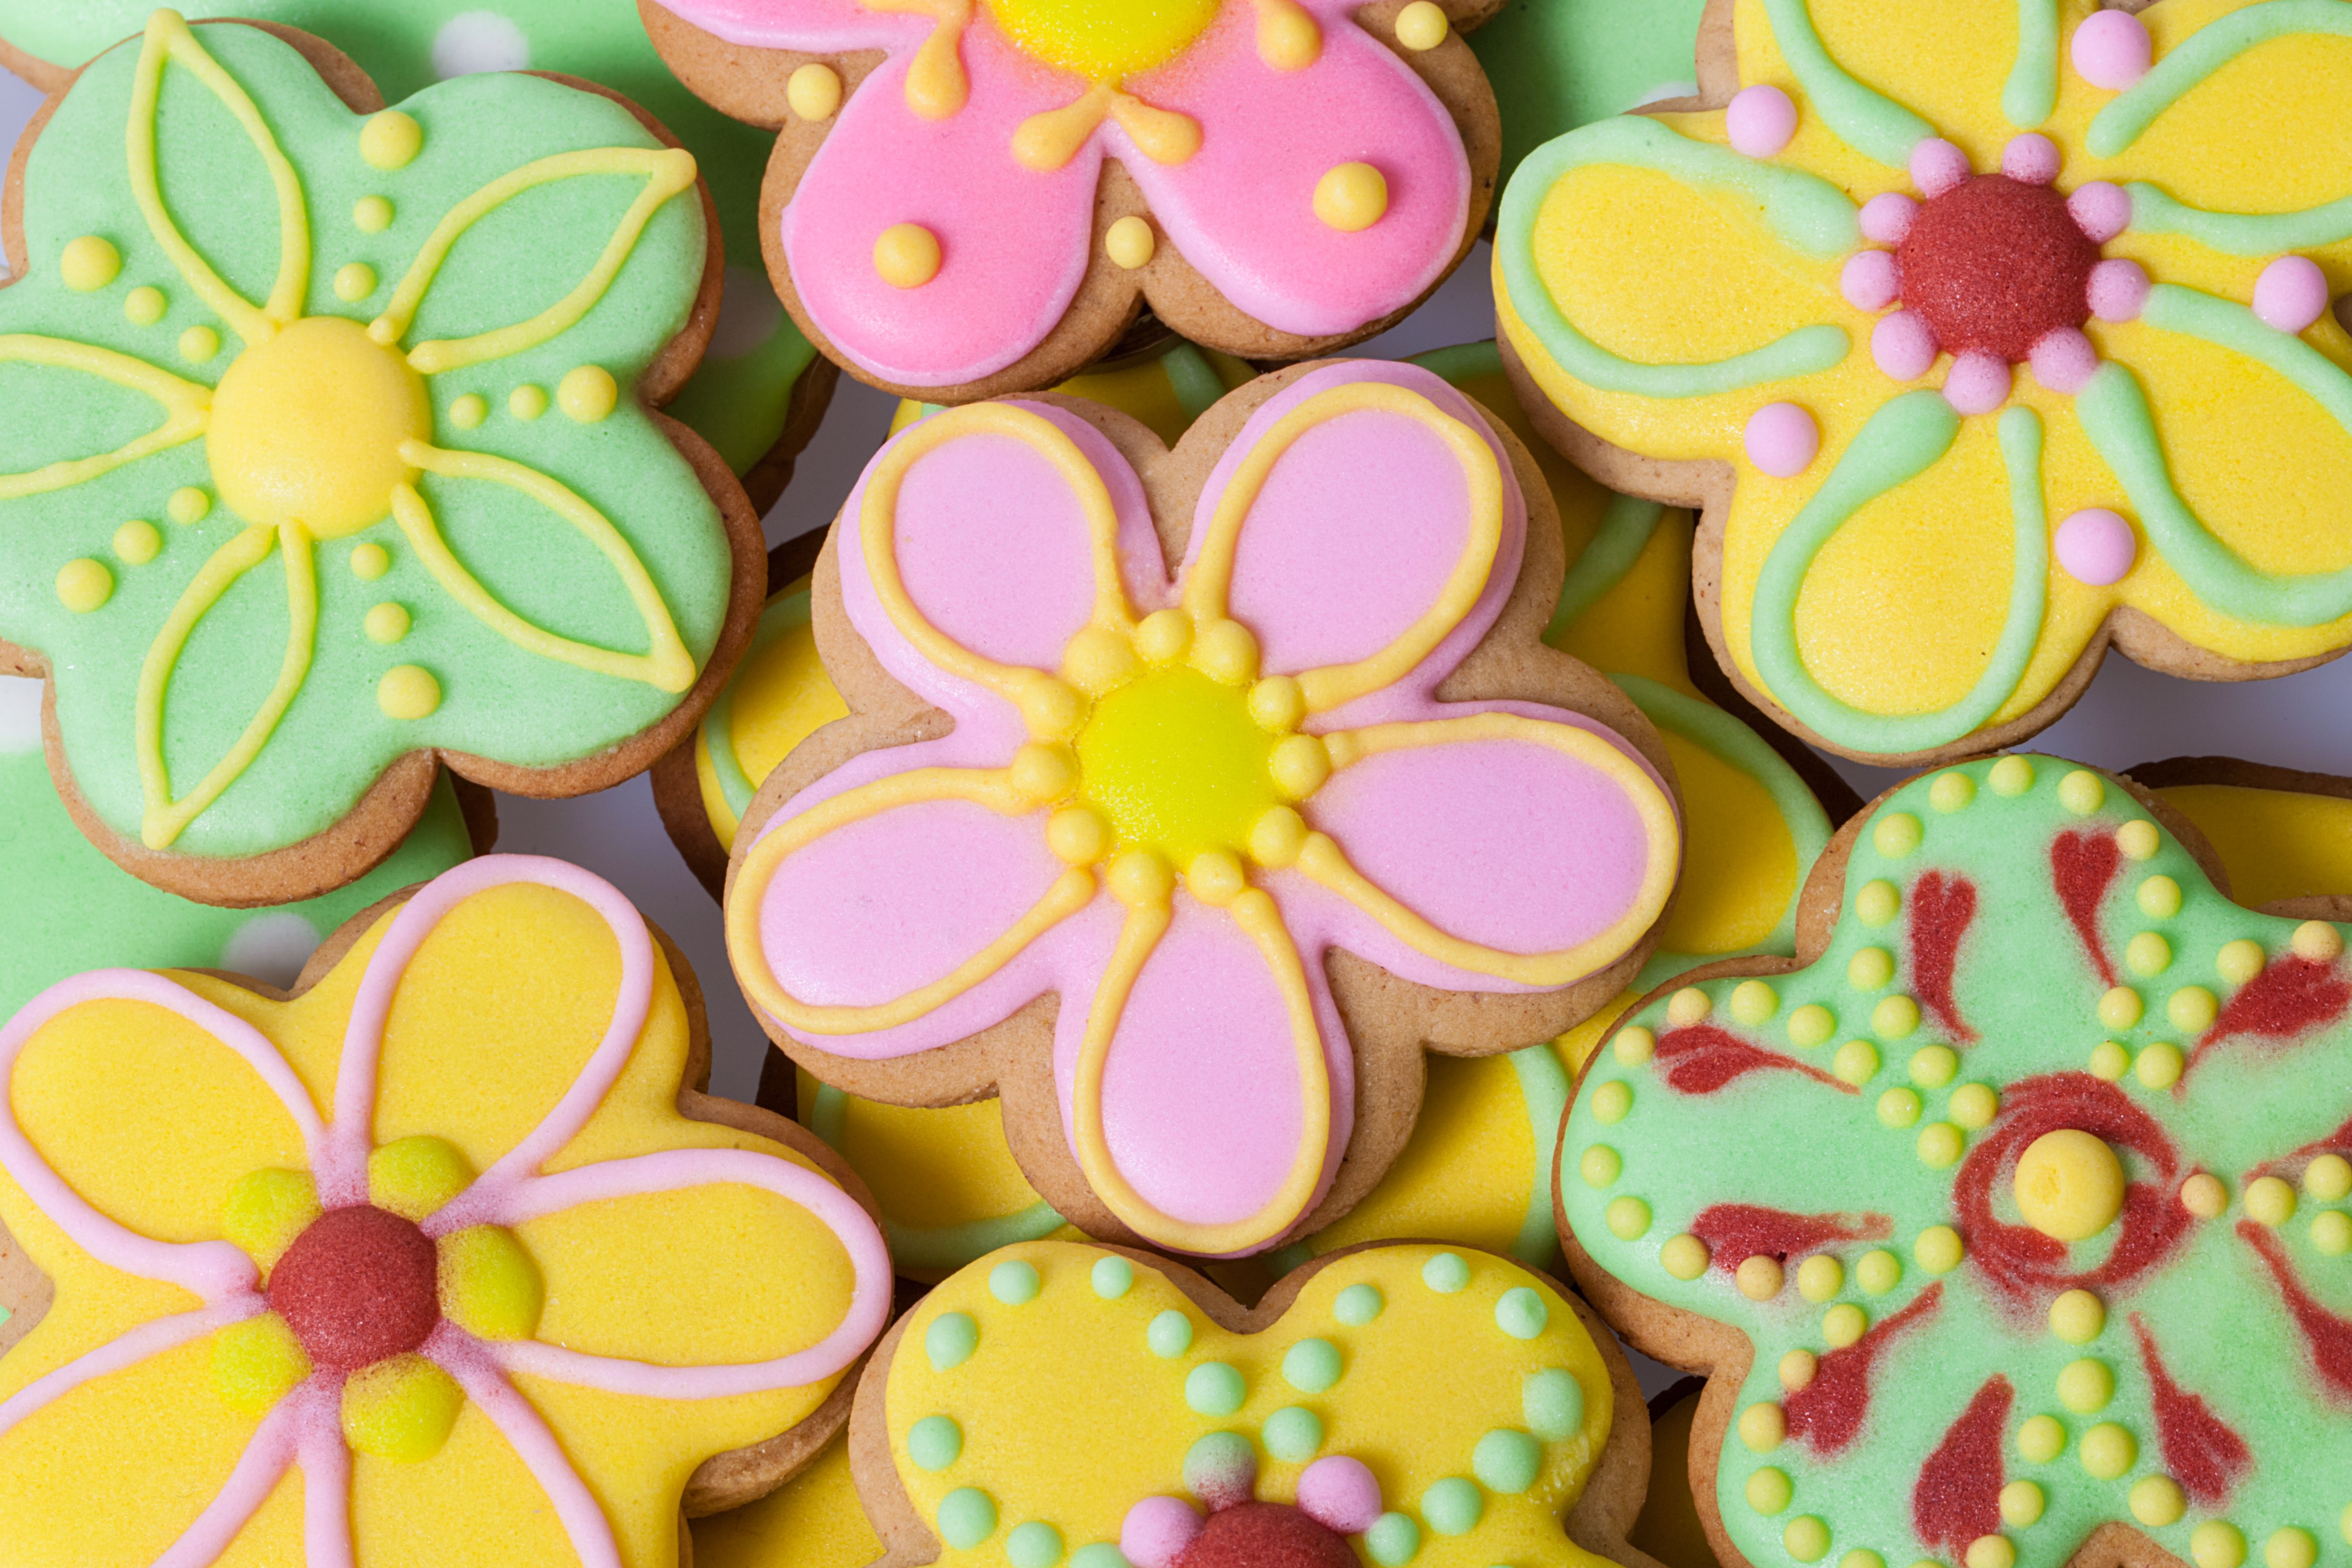
Incorporating Themes and Colors
Choosing a theme can help bring cohesion to your cookie collection. Whether it's a seasonal celebration or a favorite movie, aligning your designs with a theme adds an extra layer of charm.
Color is a powerful tool in cookie decorating. Use a color wheel to select complementary hues that will make your cookies pop. Don't shy away from bold and vibrant colors, as they can make your creations stand out.
Hosting a Cookie Decorating Party
Why not share the joy of cookie decorating with friends and family? Hosting a cookie decorating party is a wonderful way to bond and create memories. Set up a decorating station with all the necessary supplies and let everyone unleash their creativity.
Provide an array of toppings and icing colors to inspire your guests. Encourage them to experiment and try new techniques, creating a lively and enjoyable atmosphere for all.
Storing and Displaying Your Cookies
Once your cookies are decorated, proper storage is essential to maintain their freshness. Allow the icing to dry completely before stacking or packaging them. Store in an airtight container to keep them crisp and delicious.
Consider displaying your cookie masterpieces on a decorative platter or in clear cellophane bags tied with a ribbon. These make lovely gifts and are sure to impress anyone who receives them.
Conclusion: Enjoying Your Cookie Creations
DIY cookie decorating is a delightful way to express creativity and bring joy to any occasion. With the right tools, techniques, and a bit of imagination, you can transform simple cookies into edible works of art. So gather your supplies, invite some friends, and embark on a journey to create your own cookie wonderland!