DIY Sugar Cookie Decorating Tips for Beginners


Getting Started with Sugar Cookie Decorating
Decorating sugar cookies is a delightful and creative way to showcase your baking skills. Whether you're preparing for a festive occasion or just want to indulge in a sweet treat, learning a few basic techniques can elevate your cookie designs from simple to stunning. Let's dive into some easy tips to get you started on your sugar cookie decorating journey.
The first step in the process is ensuring you have a good sugar cookie base. A sturdy yet soft cookie is ideal for decorating. Use a recipe that doesn't spread too much in the oven to maintain your desired shapes. Allow your cookies to cool completely before you start decorating to avoid melted icing disasters.
Essential Tools for Beginners
Having the right tools can make all the difference in your decorating success. Here are a few essentials you'll need:
- Piping bags and tips: These are crucial for applying icing in controlled patterns and designs.
- Squeeze bottles: Useful for flooding cookies with icing.
- Toothpicks: Handy for popping air bubbles in icing and creating intricate designs.
- Food coloring: Gel-based colors are preferred as they provide vibrant hues without thinning the icing.
Mastering Icing Consistency
The consistency of your icing is critical for achieving professional-looking results. There are generally three types of consistencies you'll work with: stiff, piping, and flooding.
Stiff consistency is used for creating borders and detailed piping work. It should hold its shape well without spreading. Piping consistency is slightly thinner, perfect for outlining and adding details. Lastly, flooding consistency is the thinnest and is used to fill in large areas smoothly.
Basic Techniques to Try
Once you've mastered your icing consistency, it's time to try some basic techniques. Start with outlining your cookies using piping consistency icing. This creates a barrier to help contain the flooding icing within the cookie's edges.
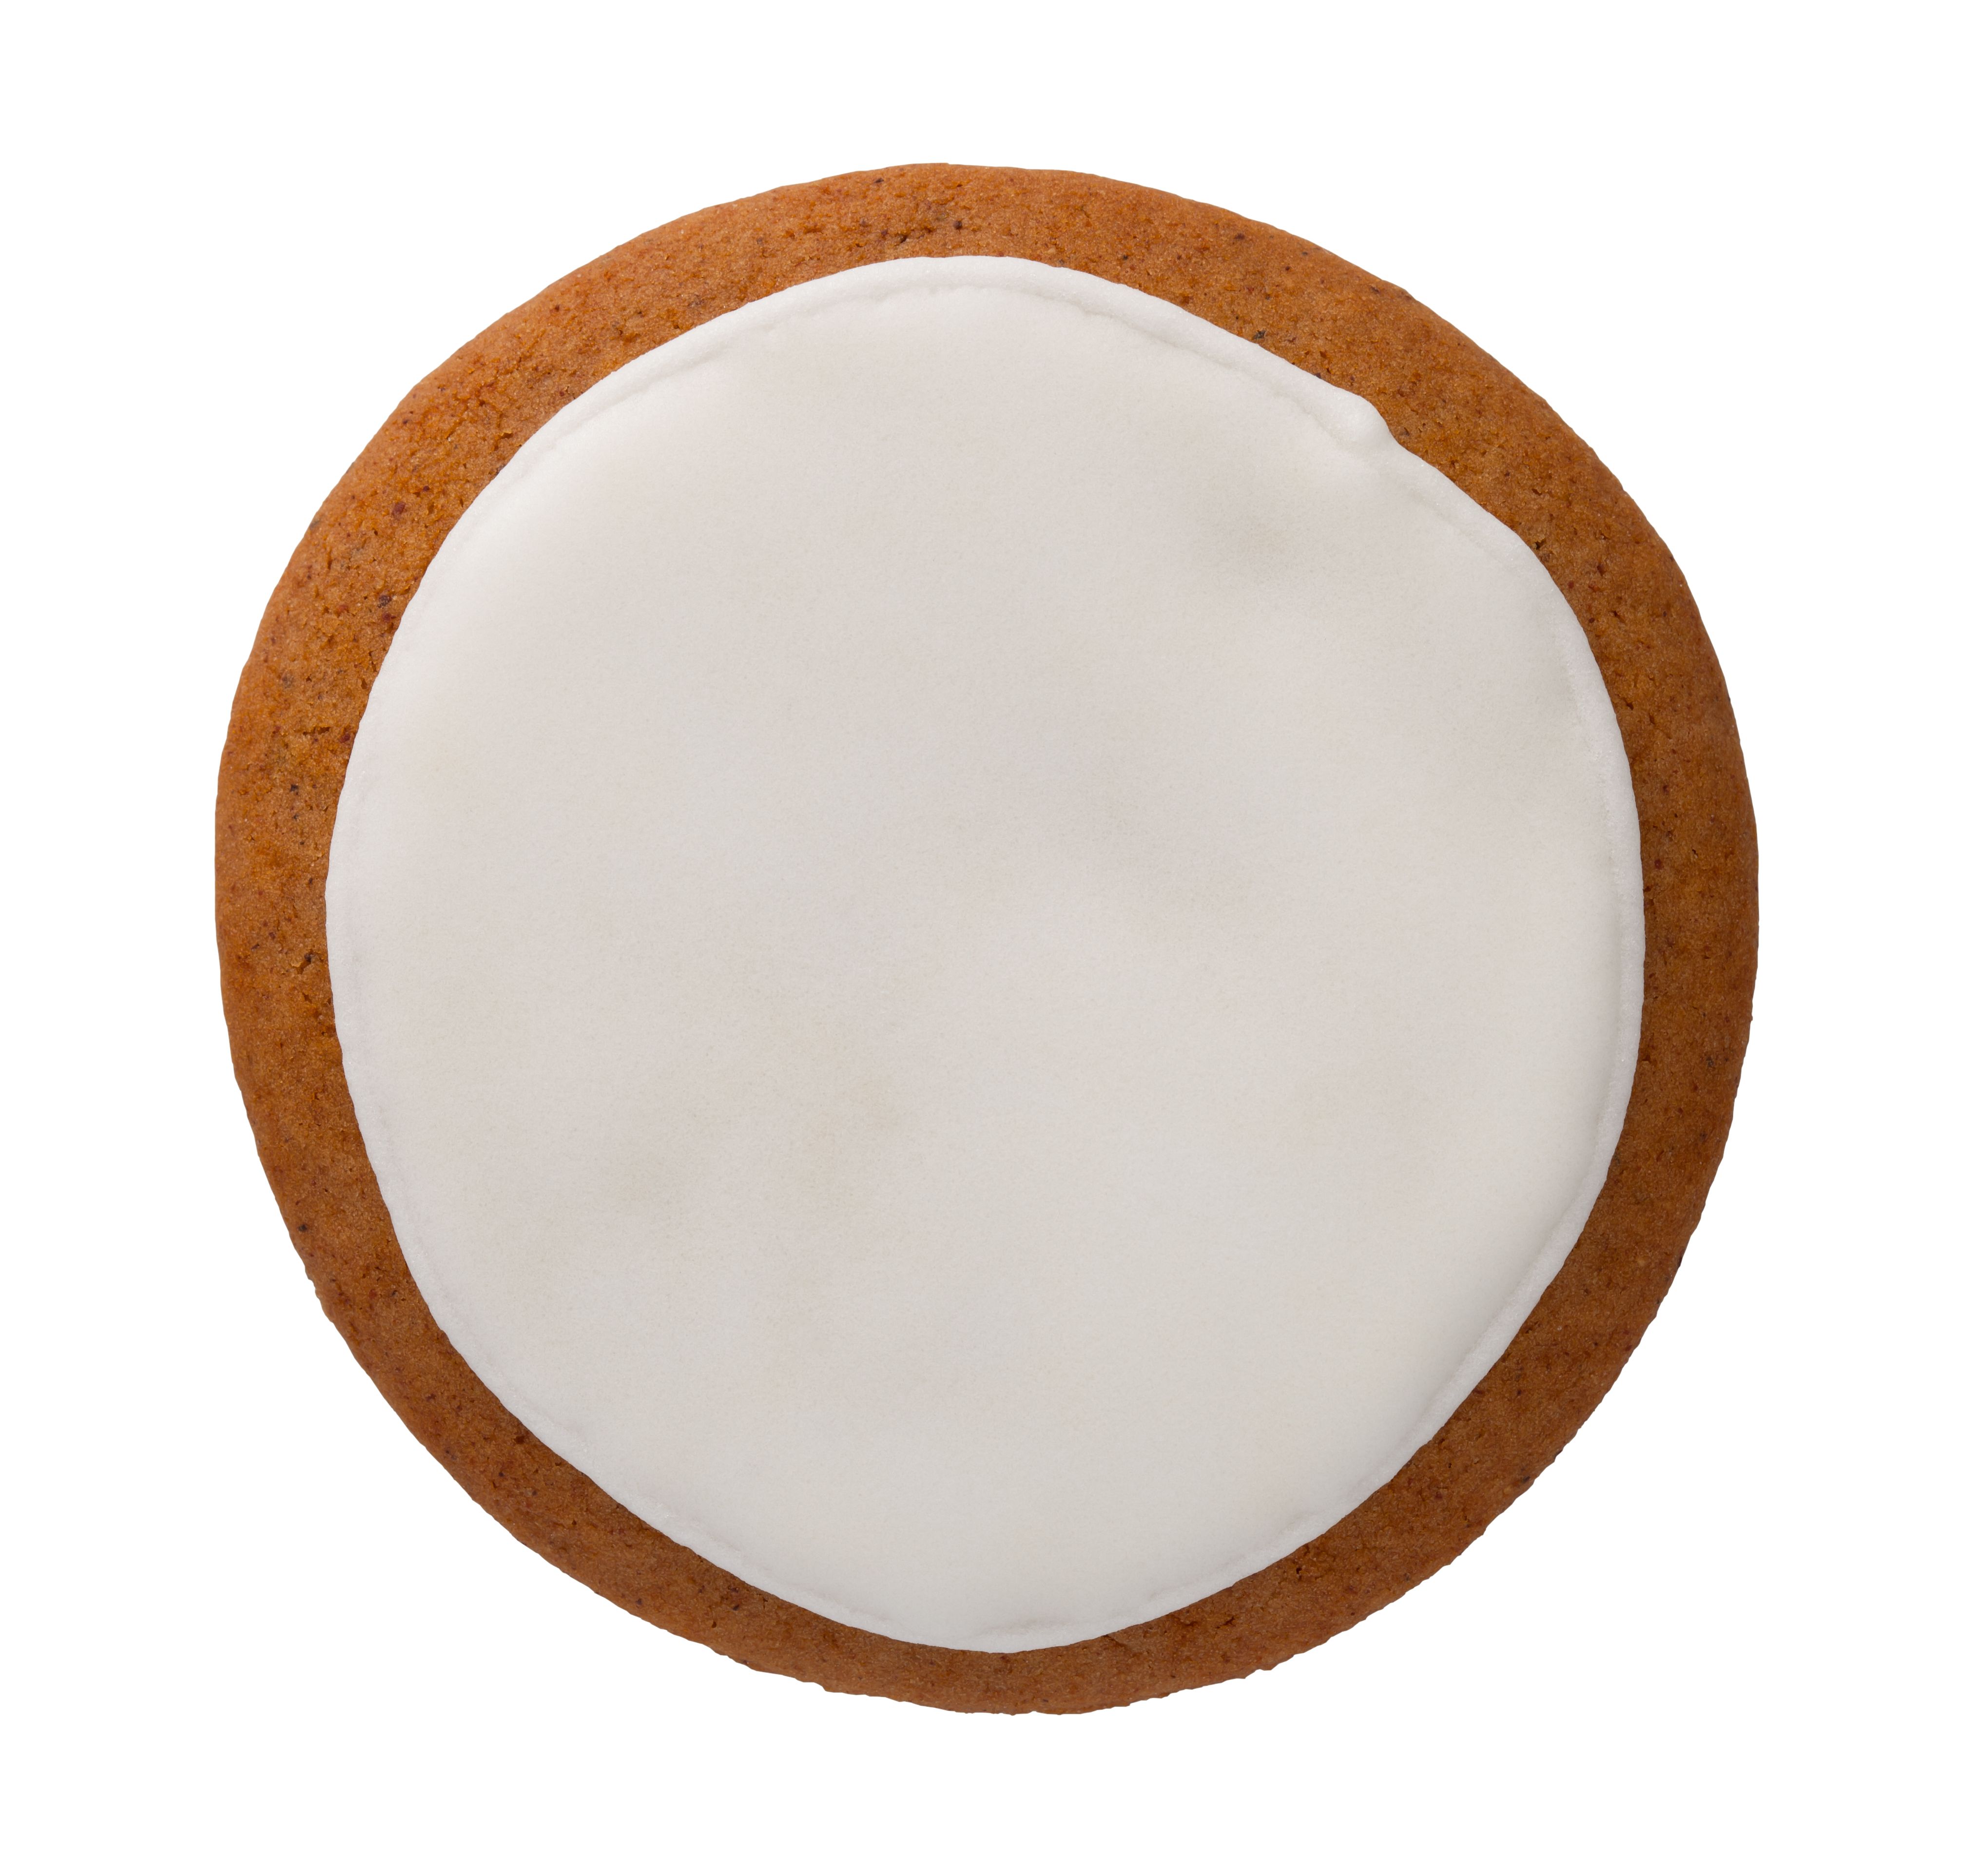
Next, try flooding the cookie with thinned icing. Use a squeeze bottle or spoon to cover the surface, and a toothpick to spread it evenly and remove air bubbles. This smooth layer provides the perfect base for adding more detailed decorations once it dries.
Adding Finishing Touches
After your base layer has set, it's time to add some flair! Experiment with simple designs like polka dots, stripes, or swirls using contrasting colors of piping icing. Practice makes perfect, so don't be discouraged if your first attempts aren't flawless.
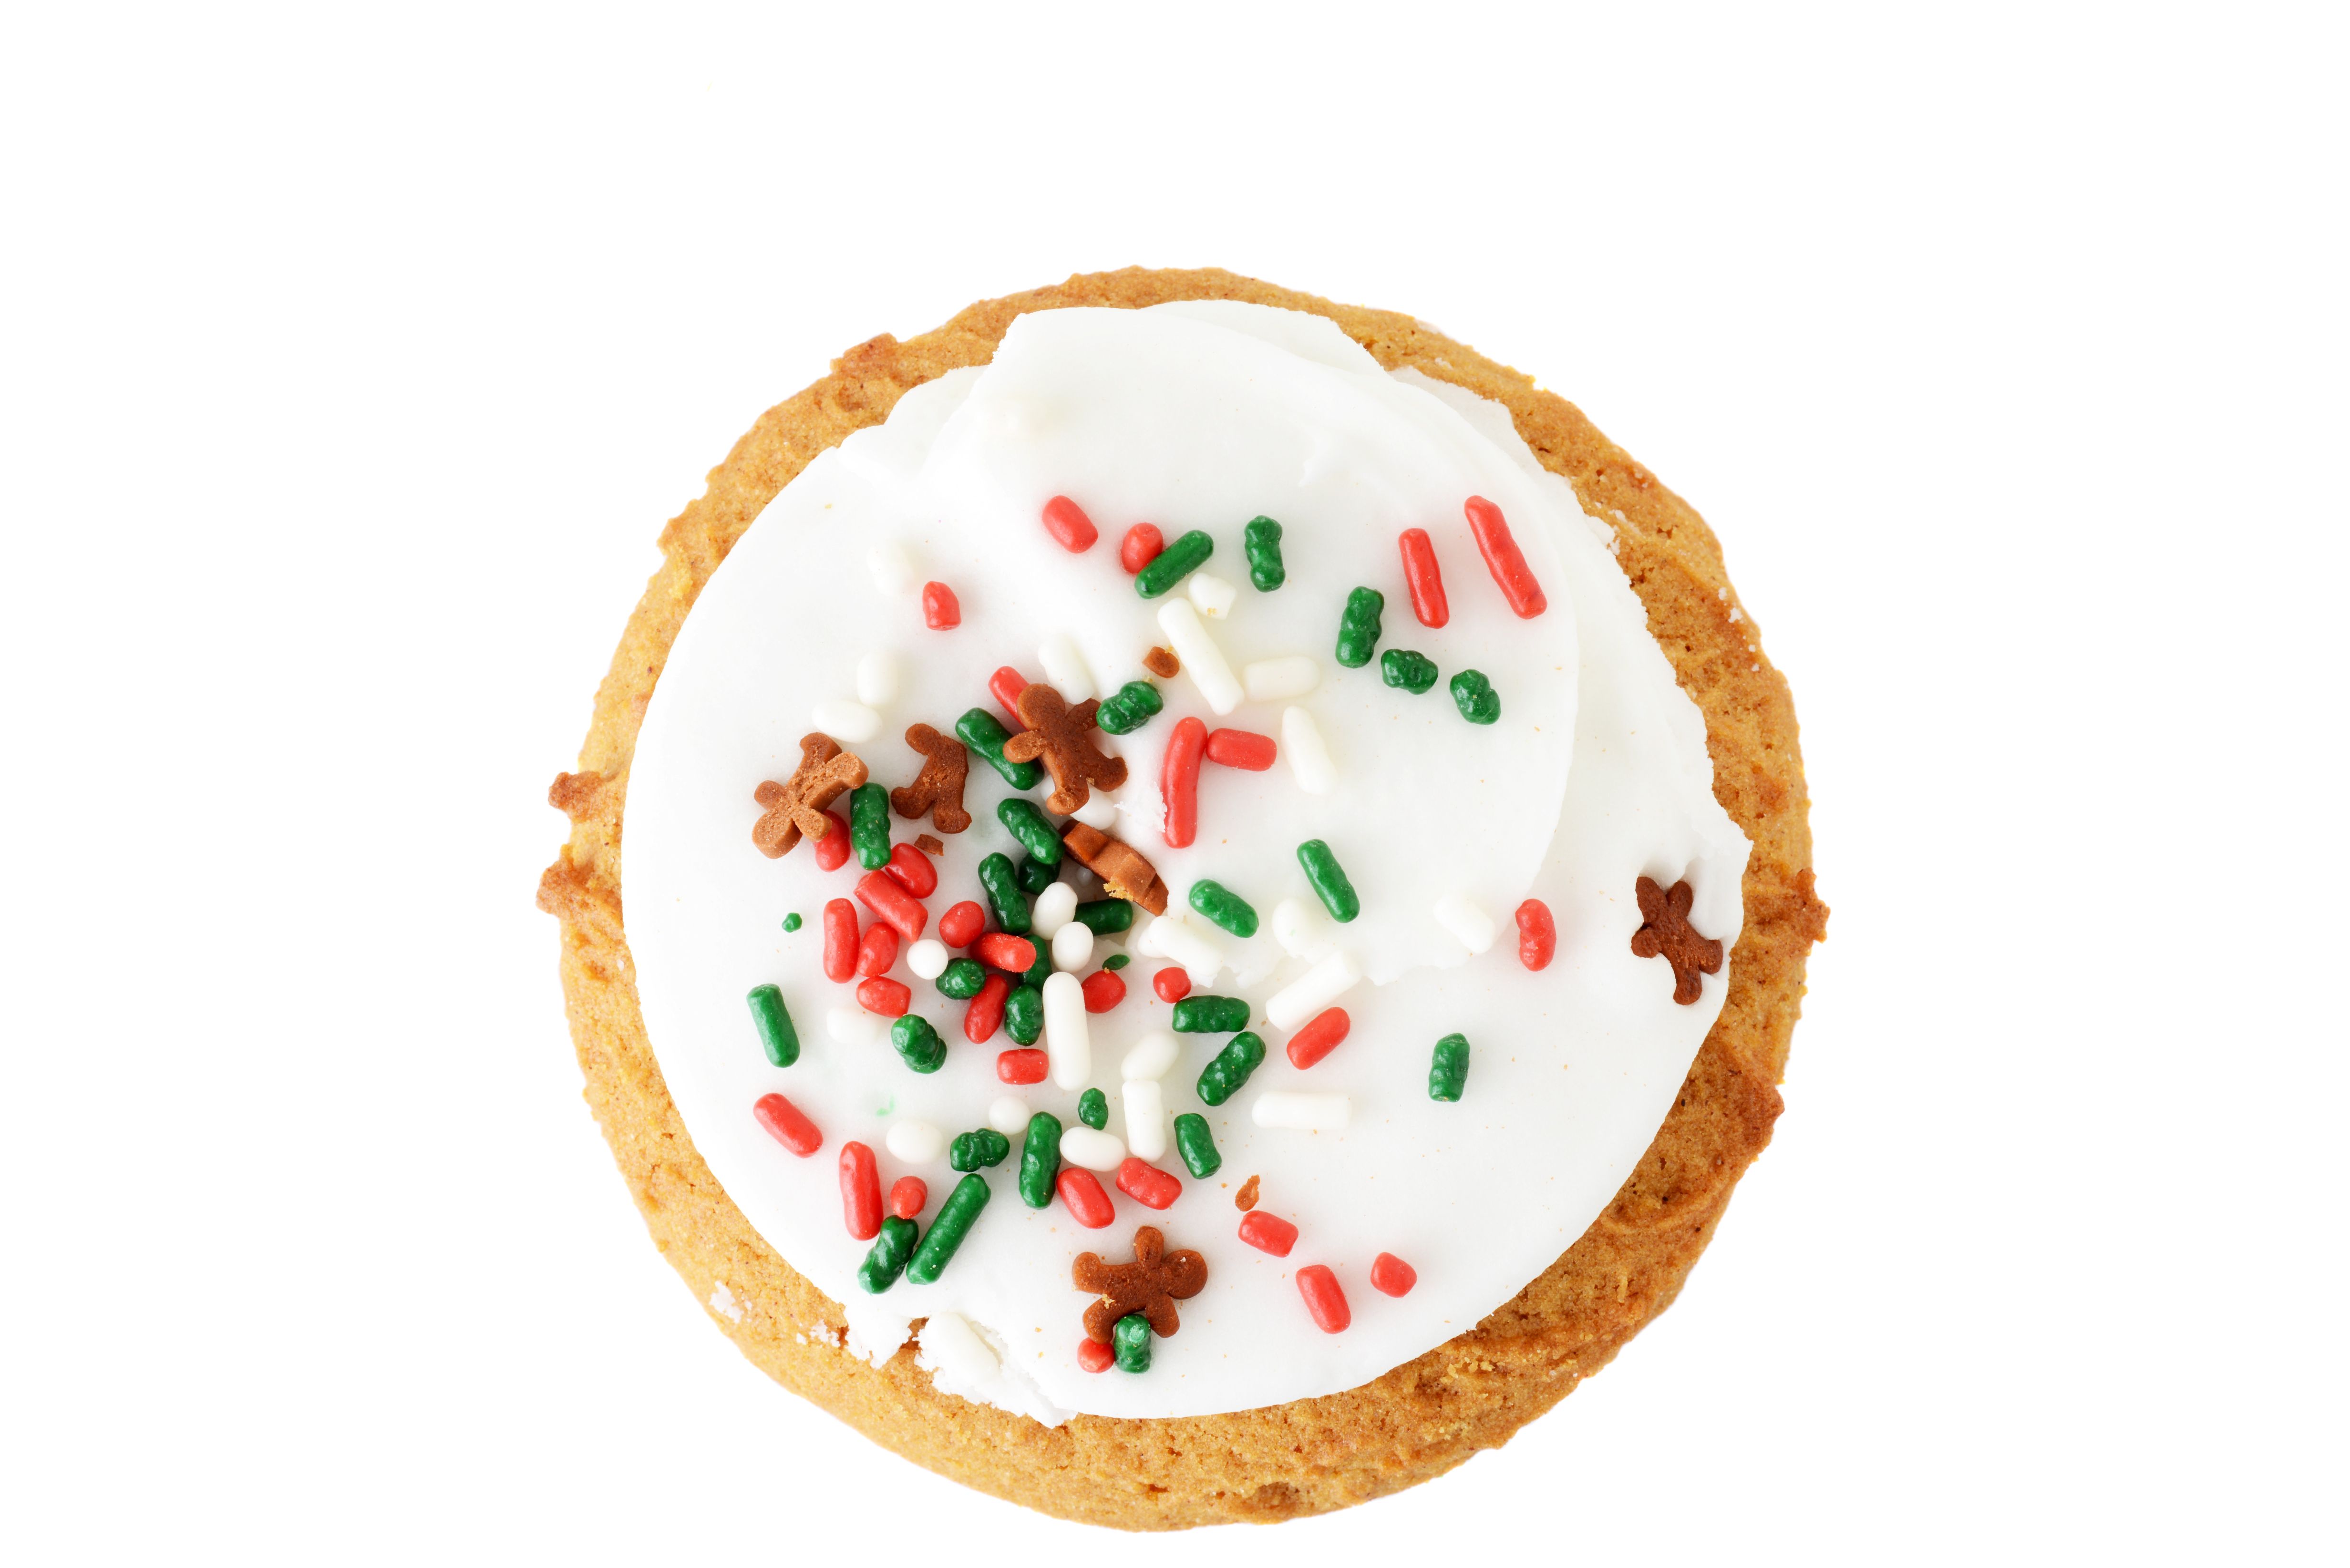
If you're feeling adventurous, try using stencils or adding edible glitter and sprinkles for extra sparkle and dimension. Remember, sugar cookie decorating is an art form, so let your creativity flow and have fun with it!
As you gain confidence, you can explore more complex designs and techniques. Consider joining online communities or taking a class to further develop your skills. The most important thing is to enjoy the process and savor the sweet rewards of your efforts.
Decorating sugar cookies is a rewarding hobby that offers endless possibilities for creativity. With practice and patience, you'll soon be creating beautifully decorated cookies that are as delightful to look at as they are to eat. Happy decorating!