DIY Sugar Cookie Decorating Tips from Professional Bakers


Gather Your Supplies
Decorating sugar cookies like a professional begins with having the right tools and ingredients. To start, you'll need a variety of cookie cutters, piping bags, and decorating tips. Don’t forget essential ingredients such as royal icing and food coloring. Having these supplies ready will set the stage for a successful DIY session.
For those new to cookie decorating, consider investing in a beginner's kit, which often includes a selection of essential tools and instructions. These kits are perfect for understanding the basics before diving into more complex designs.
Mastering Royal Icing
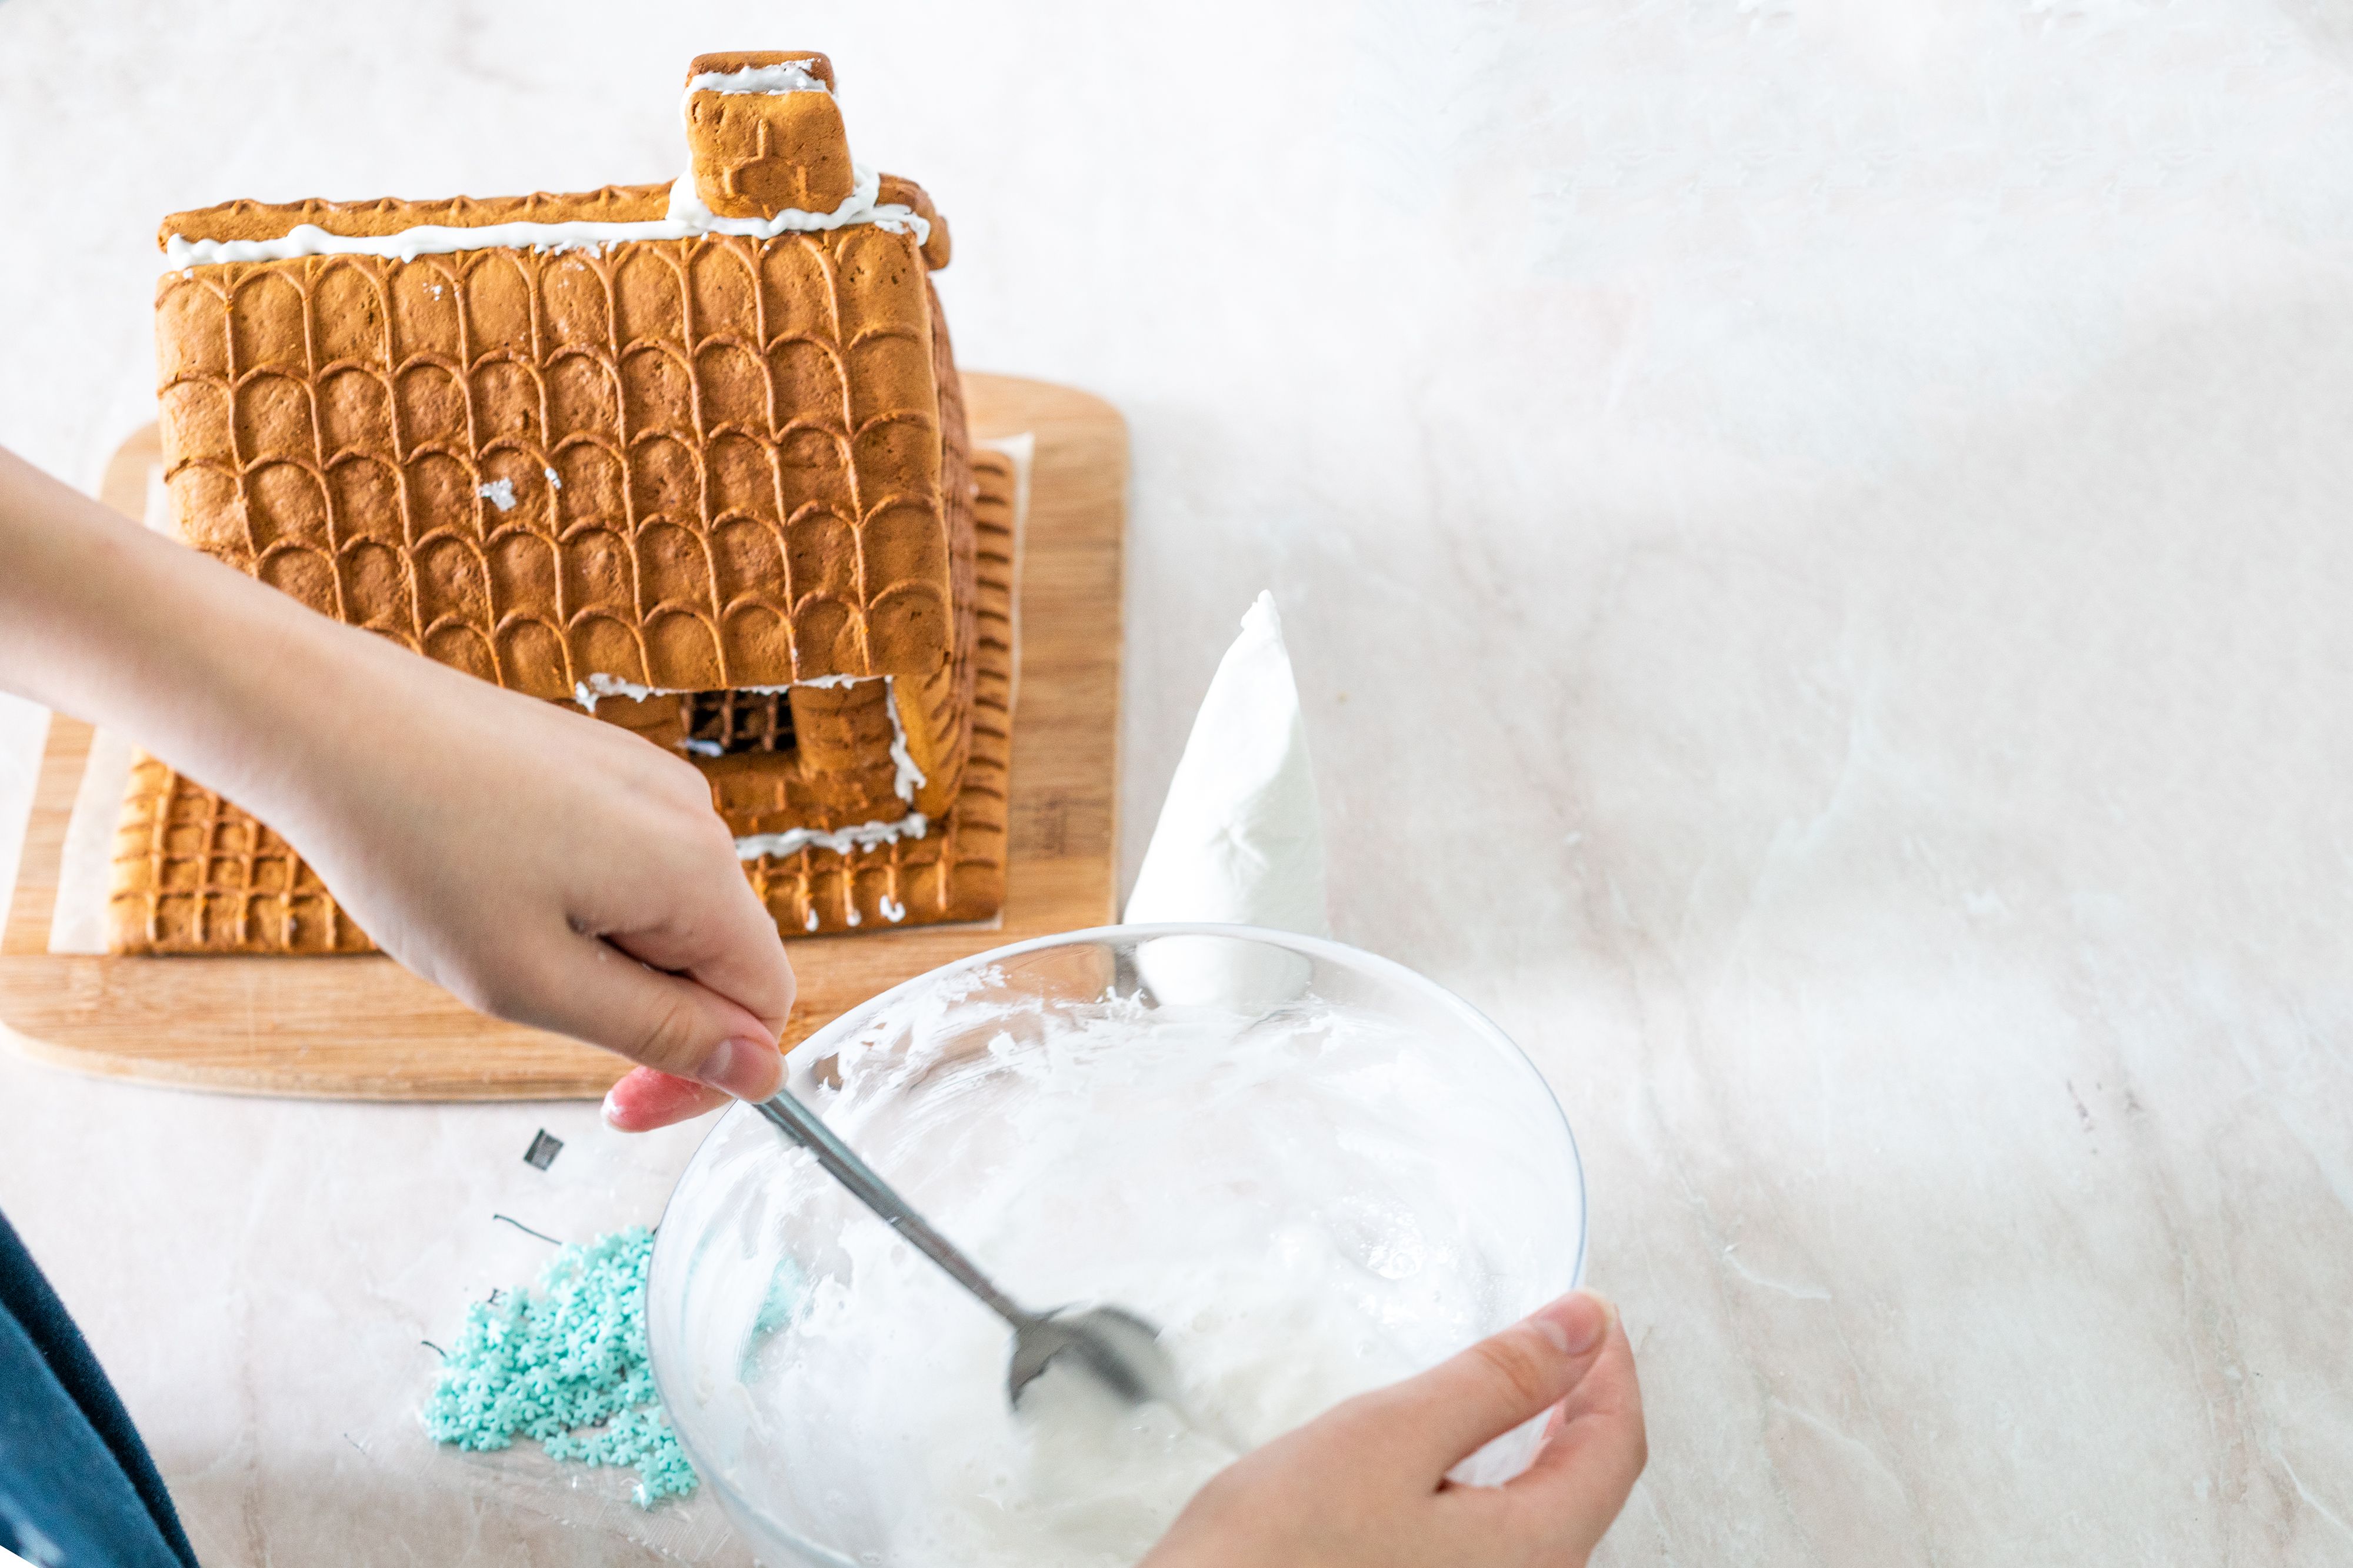
The secret to beautifully decorated cookies lies in mastering royal icing. This versatile icing can be adapted for different techniques depending on its consistency. Start by preparing a batch of royal icing, ensuring it is smooth and free of lumps. Divide it into smaller bowls to add various food colorings.
Achieving the correct consistency is crucial. A thicker icing is ideal for outlining, while a thinner flood consistency is perfect for filling in the designs. Practice on parchment paper before applying it to your cookies to get comfortable with handling the icing bags.
Outline and Flood Method
Professional bakers often use the outline and flood method for a polished look. First, use a piping bag with a small round tip to outline the edges of your cookie. Allow this to dry slightly to create a barrier. Next, use a thinner icing to fill in the outlined area, using a toothpick to spread it evenly.
This method helps achieve clean edges and prevents icing from spilling over. Practice this technique on simpler shapes before attempting more intricate designs.
Adding Details and Embellishments
Once the base layer of icing has dried, it’s time to add details. Use different piping tips to create patterns such as dots, lines, or swirls. Consider using stencils or stamps for more elaborate designs. This is where your creativity can shine through.
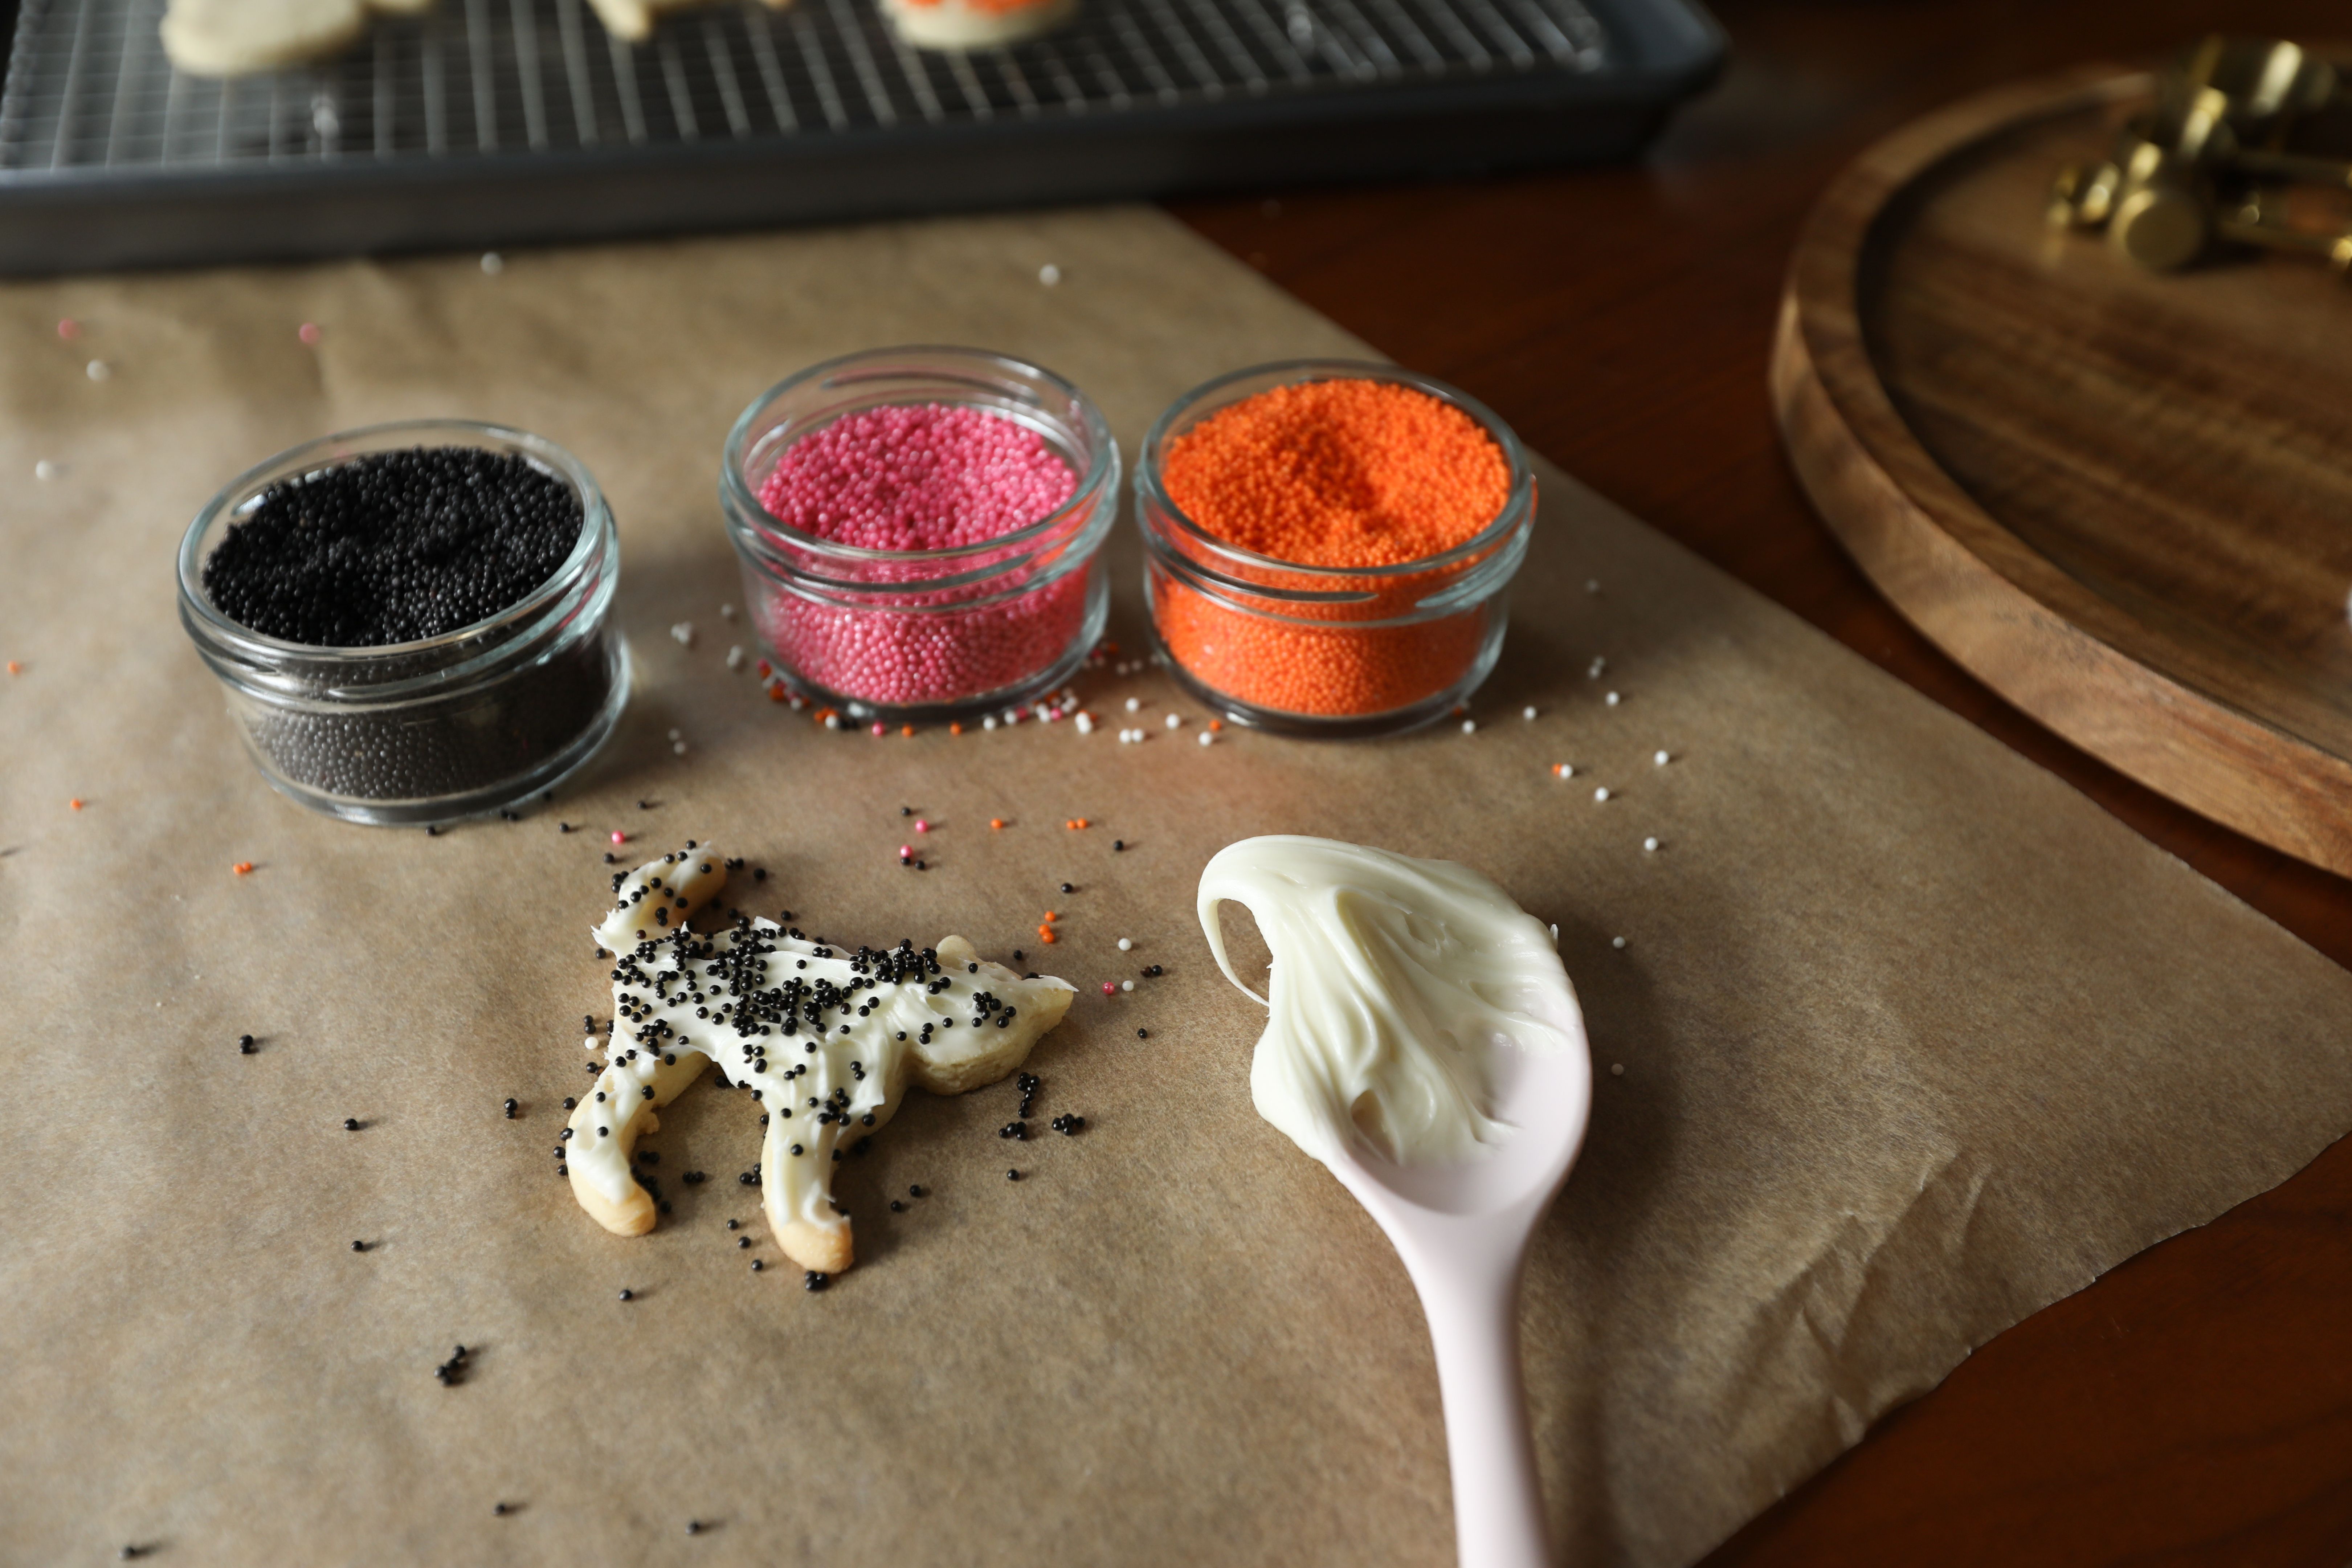
Incorporate Edible Decorations
Edible decorations such as sprinkles, pearls, and edible glitter can add a touch of elegance to your cookies. Apply these embellishments while the icing is still wet so they adhere properly. Experiment with different combinations to create unique designs.
For an extra professional touch, consider using edible paint or luster dust to add shimmer and depth to your creations.
Troubleshooting Common Issues
Even seasoned bakers encounter challenges when decorating cookies. One common issue is icing that’s too runny. If this happens, gradually mix in more powdered sugar until the desired consistency is reached. If your icing is too thick, add small amounts of water until it flows smoothly.
Another common problem is air bubbles in the icing. To avoid this, stir the icing gently before using it and tap your cookies on the countertop after flooding to release any trapped air.
Storing and Displaying Your Creations
Proper storage is crucial to maintaining the freshness and appearance of your decorated cookies. Once they are completely dry, store them in an airtight container to prevent them from becoming stale. For longer storage, consider freezing them in layers separated by parchment paper.
If you’re displaying your cookies for an event or gathering, arrange them on decorative plates or trays for an eye-catching presentation. This not only showcases your hard work but also makes them more appealing to guests.
With these tips and techniques from professional bakers, you’re well on your way to creating stunning sugar cookies that will impress friends and family alike. Happy decorating!