Step-by-Step Guide to Designing Your Own Custom Cookies


Introduction to Custom Cookie Designing
Creating custom cookies is an art that combines creativity, precision, and a touch of sweetness. Whether you’re designing them for a special event or just for fun, making your own custom cookies can be a rewarding experience. This step-by-step guide will walk you through the process of designing cookies that not only taste great but look fantastic too.
From selecting your ingredients to adding the final decorative touches, each step is crucial in achieving the perfect custom cookie. Let’s dive into the world of cookie designing and unleash your inner baker.
Gathering Your Ingredients and Tools
Essential Ingredients
Start by gathering all the necessary ingredients. You’ll need flour, sugar, butter, eggs, vanilla extract, and baking powder for the basic cookie dough. For decorations, prepare icing sugar, food coloring, and any additional toppings like sprinkles or edible glitter.
Tools You’ll Need
Having the right tools makes the process much smoother. Ensure you have cookie cutters, a rolling pin, mixing bowls, baking trays, and parchment paper. For decorating, piping bags and tips will be essential for precision work.
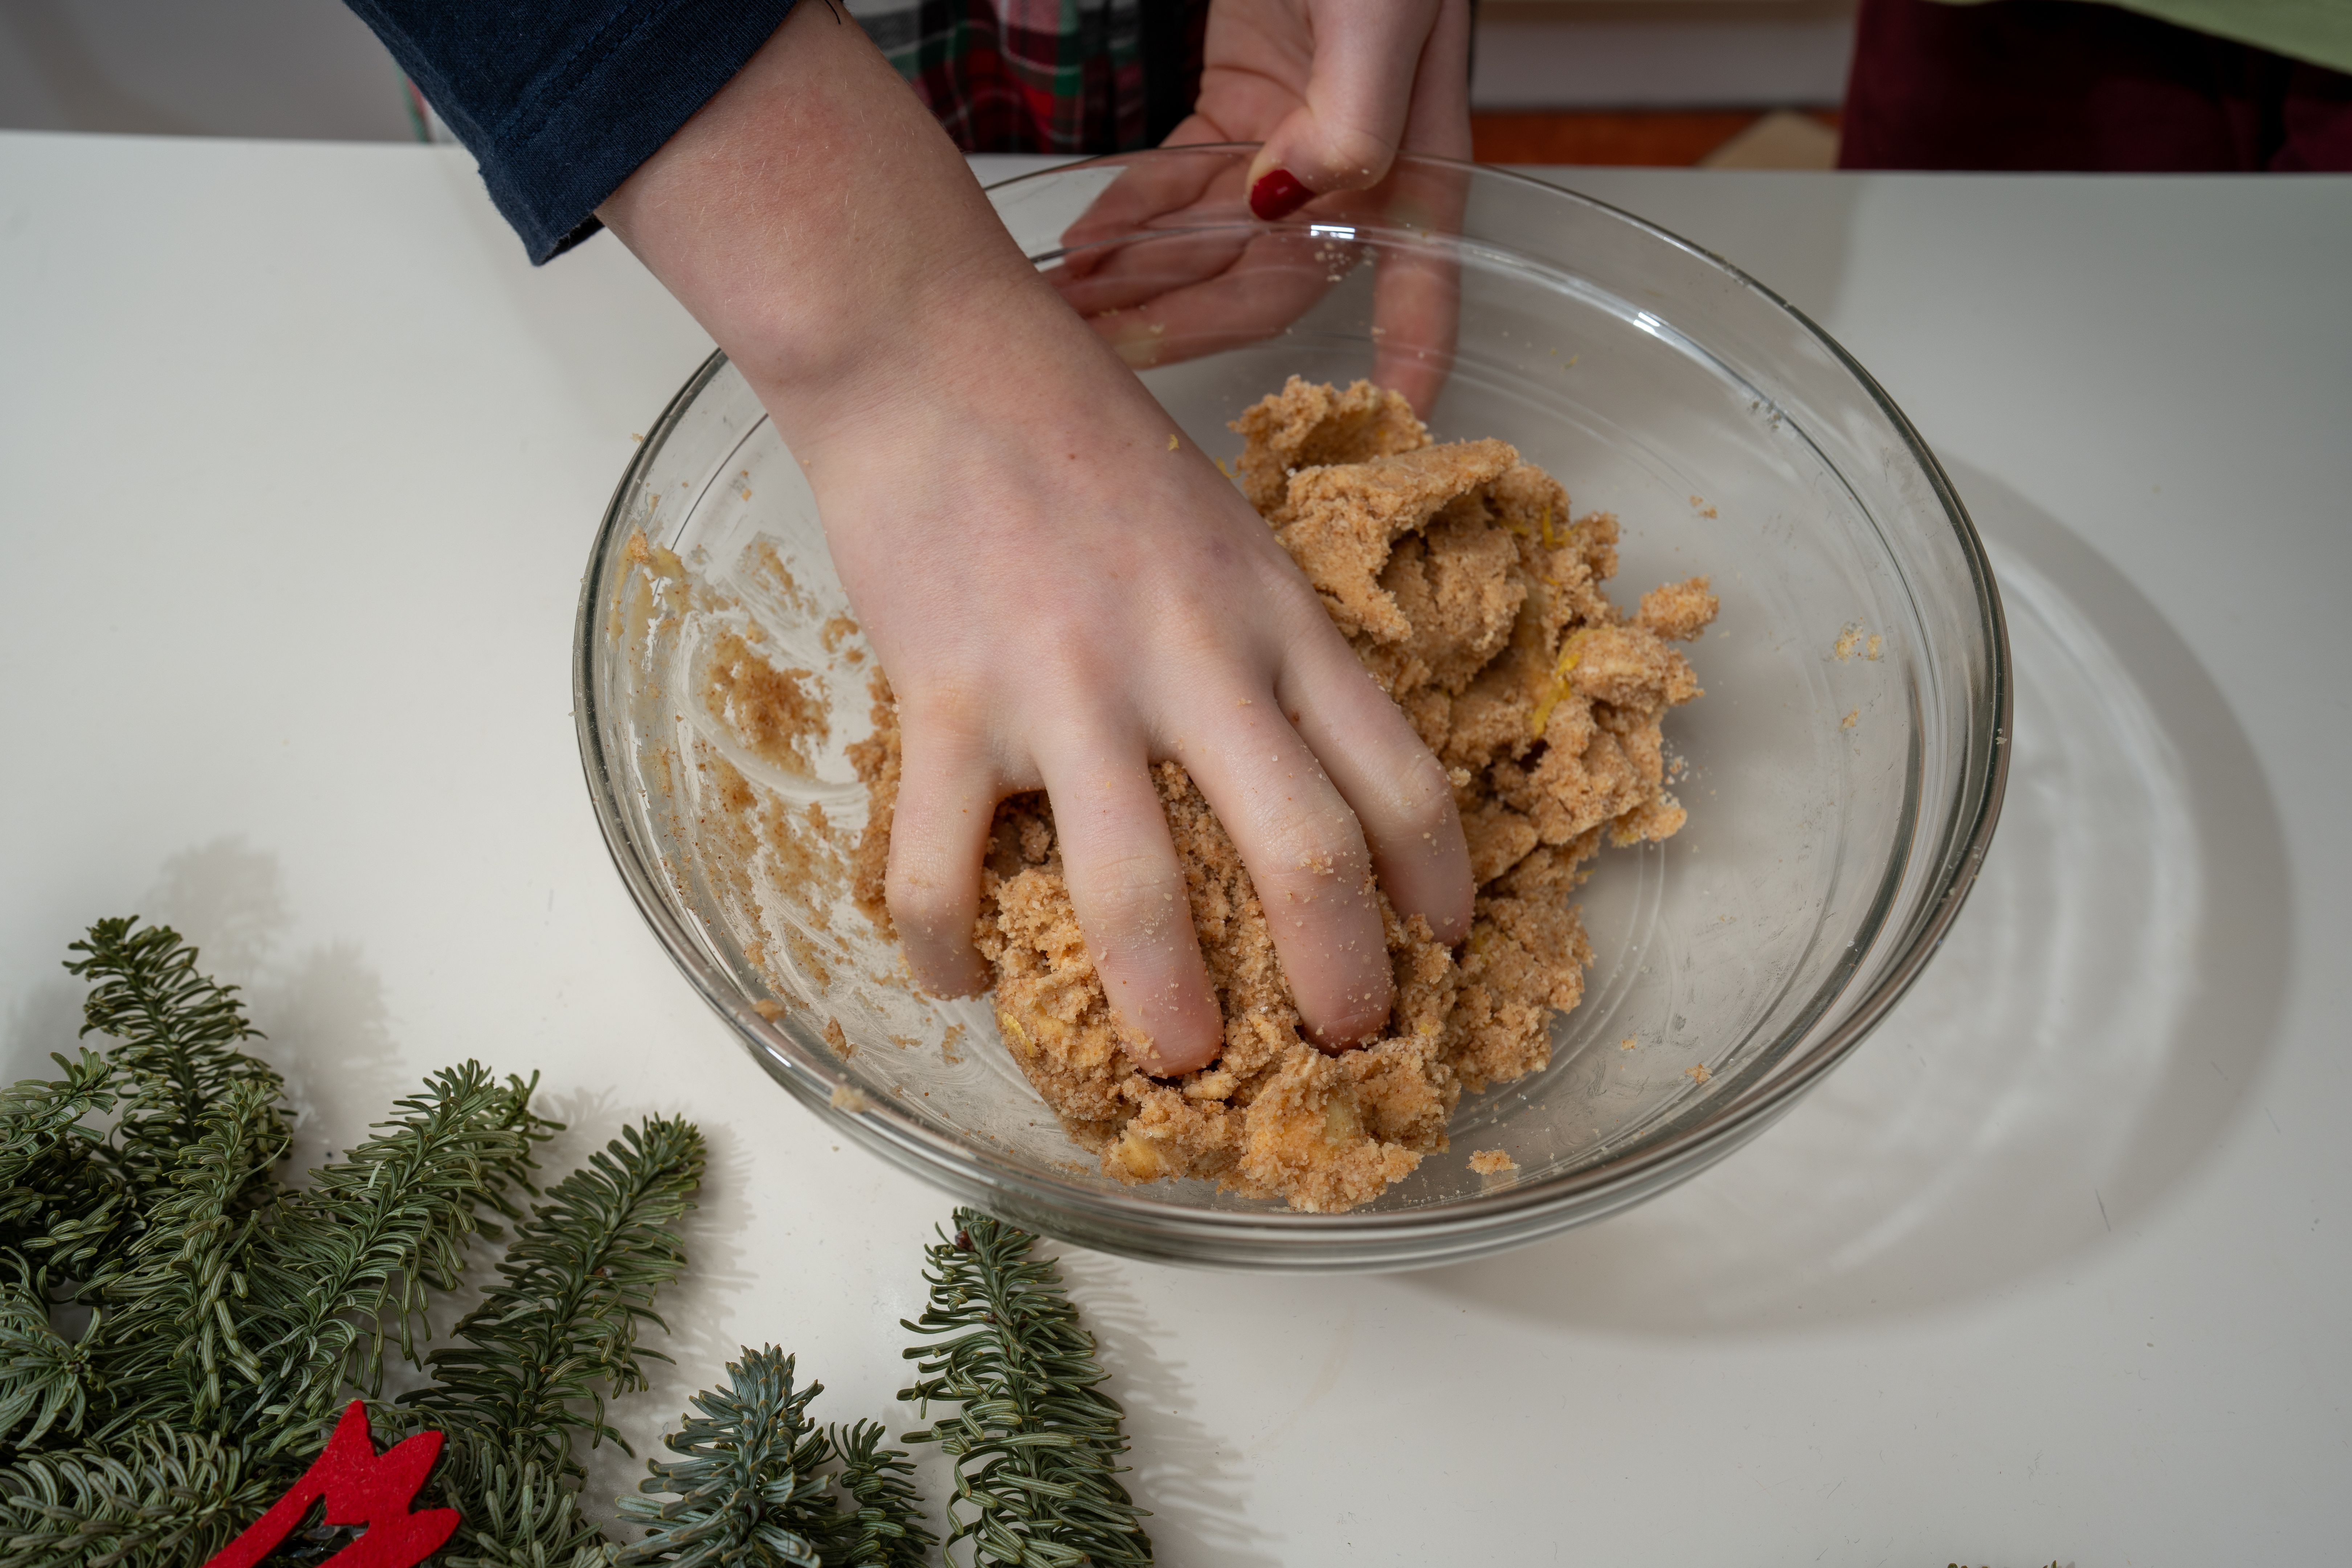
Creating the Perfect Dough
Mixing the Ingredients
Begin by creaming the butter and sugar until the mixture is light and fluffy. Gradually add the eggs and vanilla extract. In a separate bowl, combine the dry ingredients and slowly incorporate them into the wet mixture. Mix until you have a smooth dough.
Chilling the Dough
Wrap the dough in plastic wrap and refrigerate for at least an hour. Chilling helps to firm up the dough, making it easier to roll and cut into shapes. This step is crucial for maintaining the shape of your cookies during baking.
Shaping and Baking Your Cookies
Rolling and Cutting
Once chilled, roll out the dough on a floured surface to your desired thickness. Use your chosen cookie cutters to cut out shapes. Place the cutouts onto a baking tray lined with parchment paper, leaving enough space between each cookie.
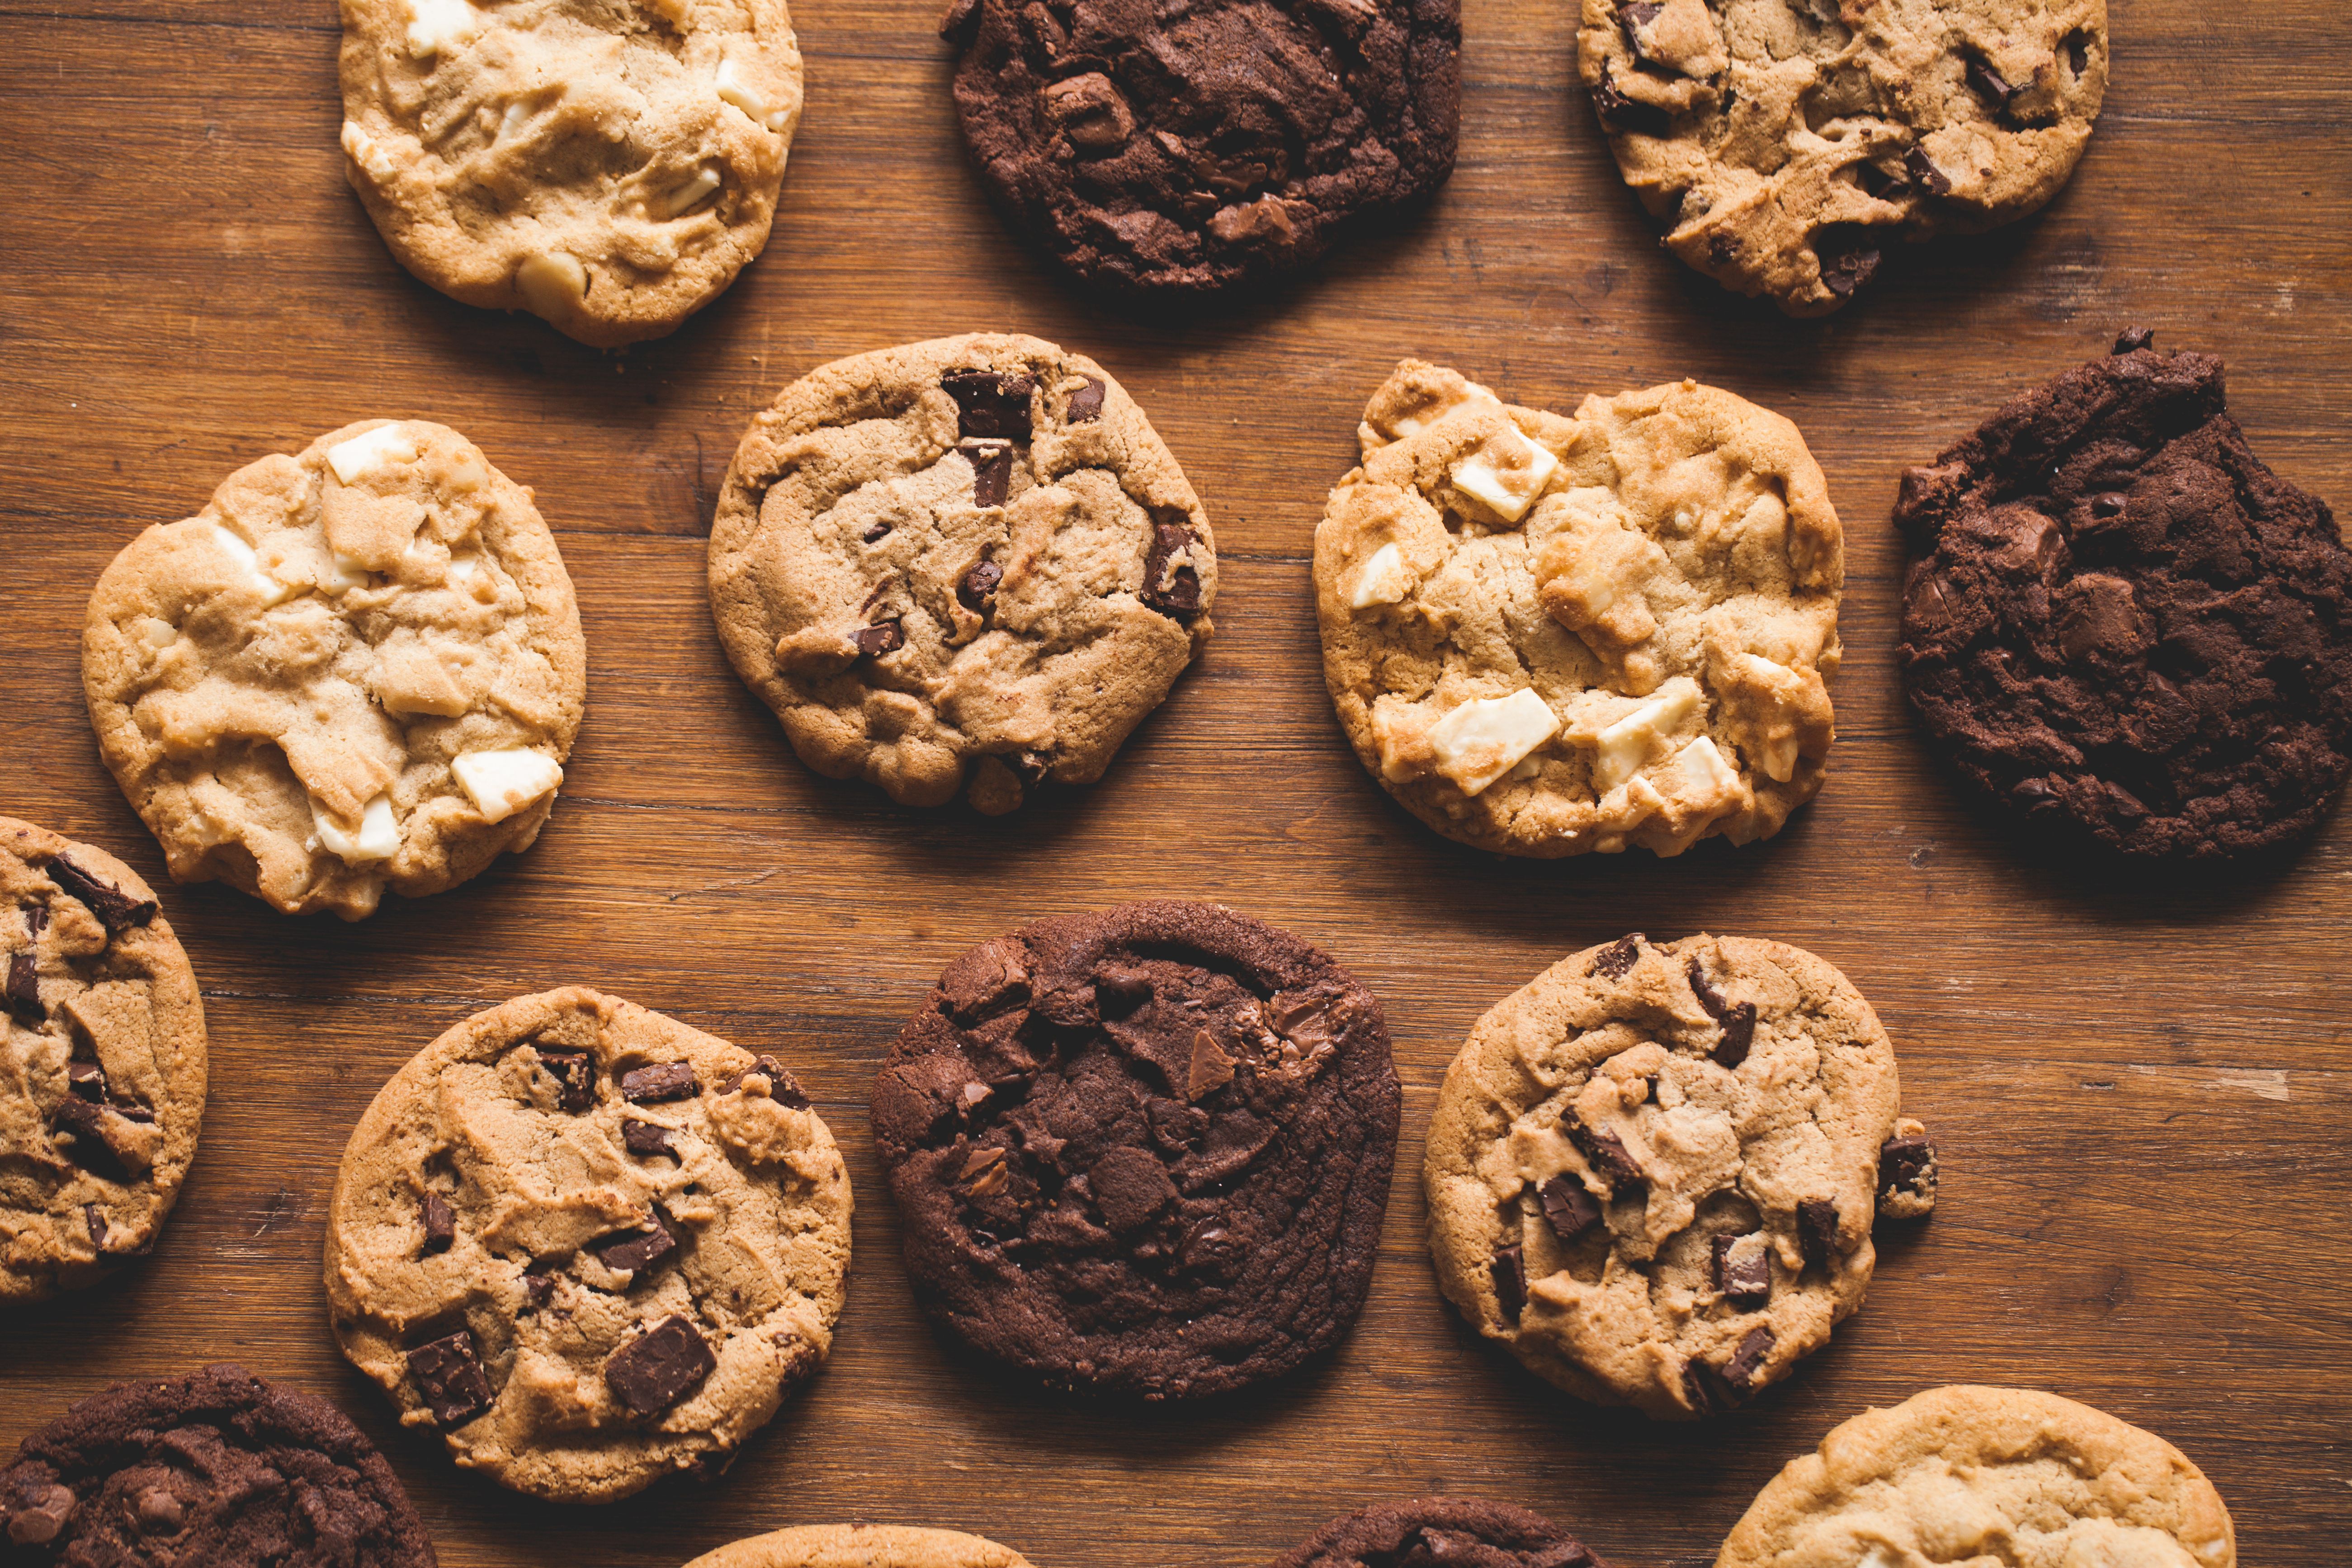
Baking to Perfection
Preheat your oven to 350°F (175°C). Bake the cookies for 8-12 minutes or until the edges are golden brown. Keep a close eye on them to prevent over-baking. Once done, let them cool completely before decorating.
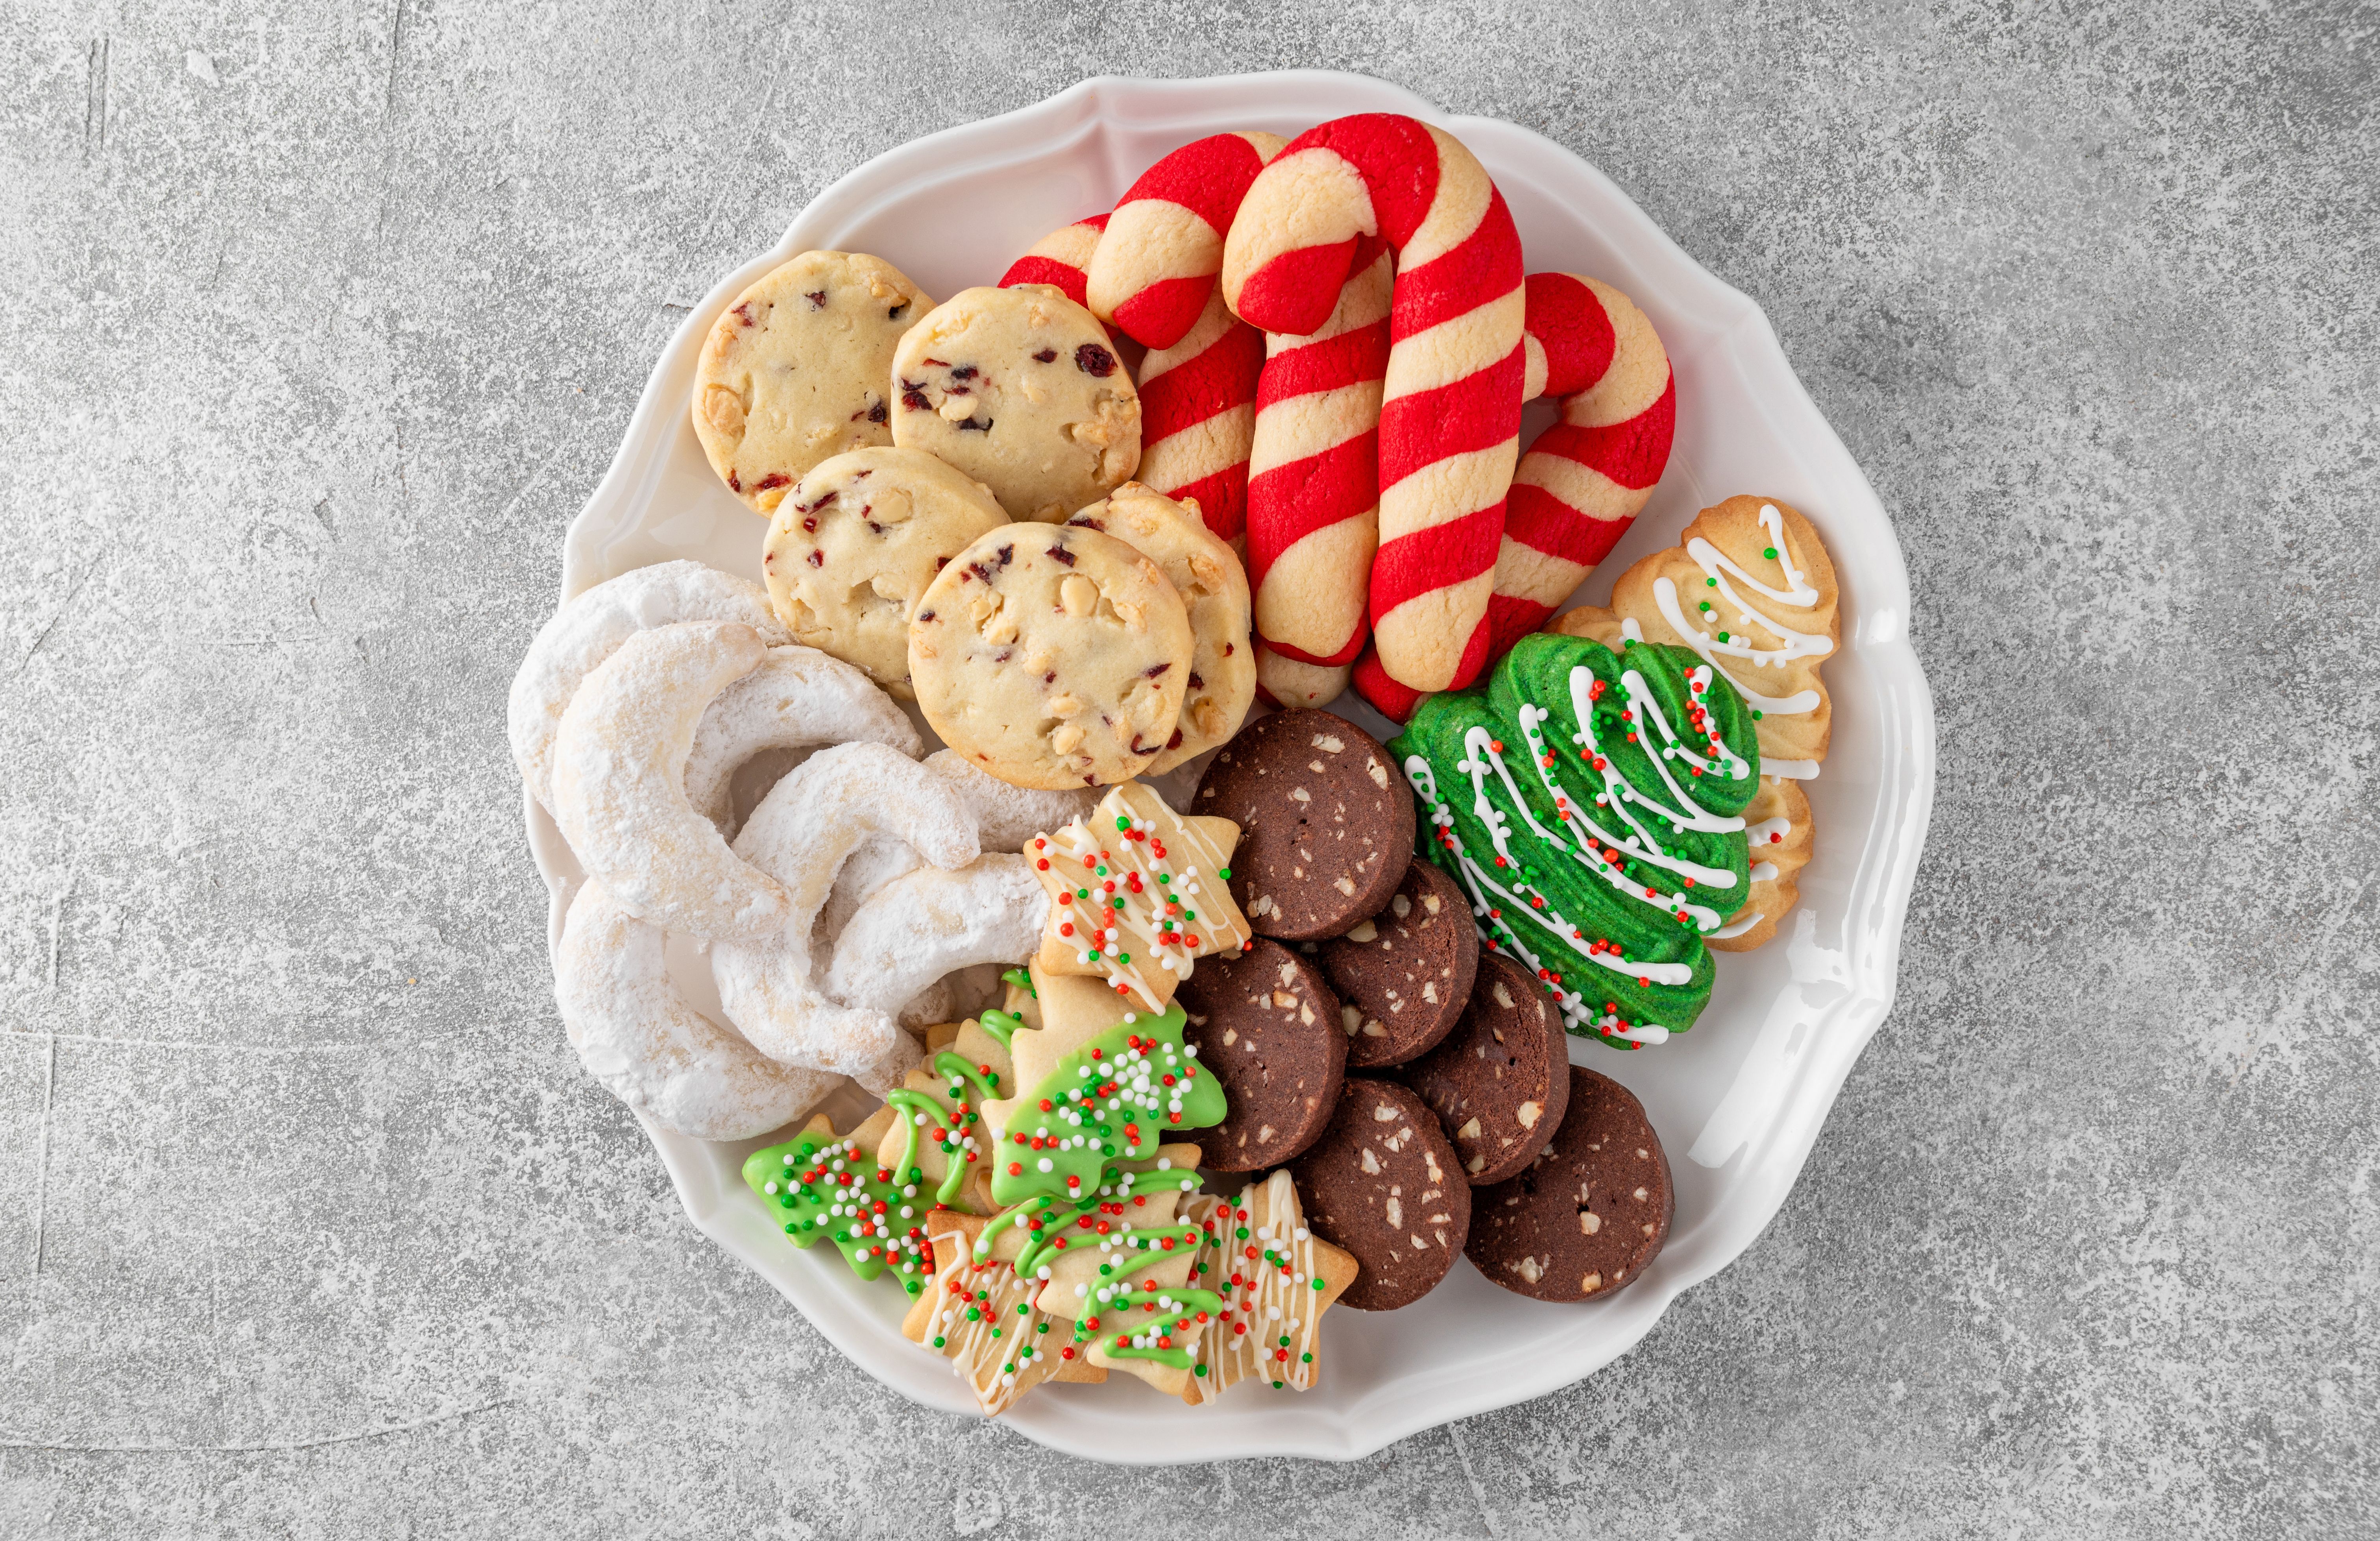
Decorating Your Masterpieces
Preparing the Icing
Create a smooth icing by mixing icing sugar with a few drops of water and food coloring. Adjust the consistency as needed for outlining or flooding. Use piping bags to apply the icing with precision.
Adding the Final Touches
Once the base icing is set, it’s time to add the final decorative touches. Use edible markers, sprinkles, or other embellishments to bring your designs to life. Let your creativity flow and enjoy the process.
Designing custom cookies is a delightful way to express your creativity and share joy with others. Whether you’re a seasoned baker or a beginner, these steps will help you create beautiful and delicious cookies for any occasion.