The Ultimate Guide to Christmas Custom Sugar Cookies: Designs, Flavors, and More


Designing Your Custom Sugar Cookies
When it comes to Christmas cookies, the design possibilities are endless. From classic shapes like stars and snowflakes to more intricate patterns like reindeer and Santa Claus, you can let your creativity shine. One popular trend is to use cookie cutters in unique shapes and then decorate them with royal icing in festive colors.
For a truly personal touch, consider using edible ink pens to draw custom designs or messages onto your cookies. This is a fun way to get children involved in the decorating process, allowing them to add their own flair to each cookie.
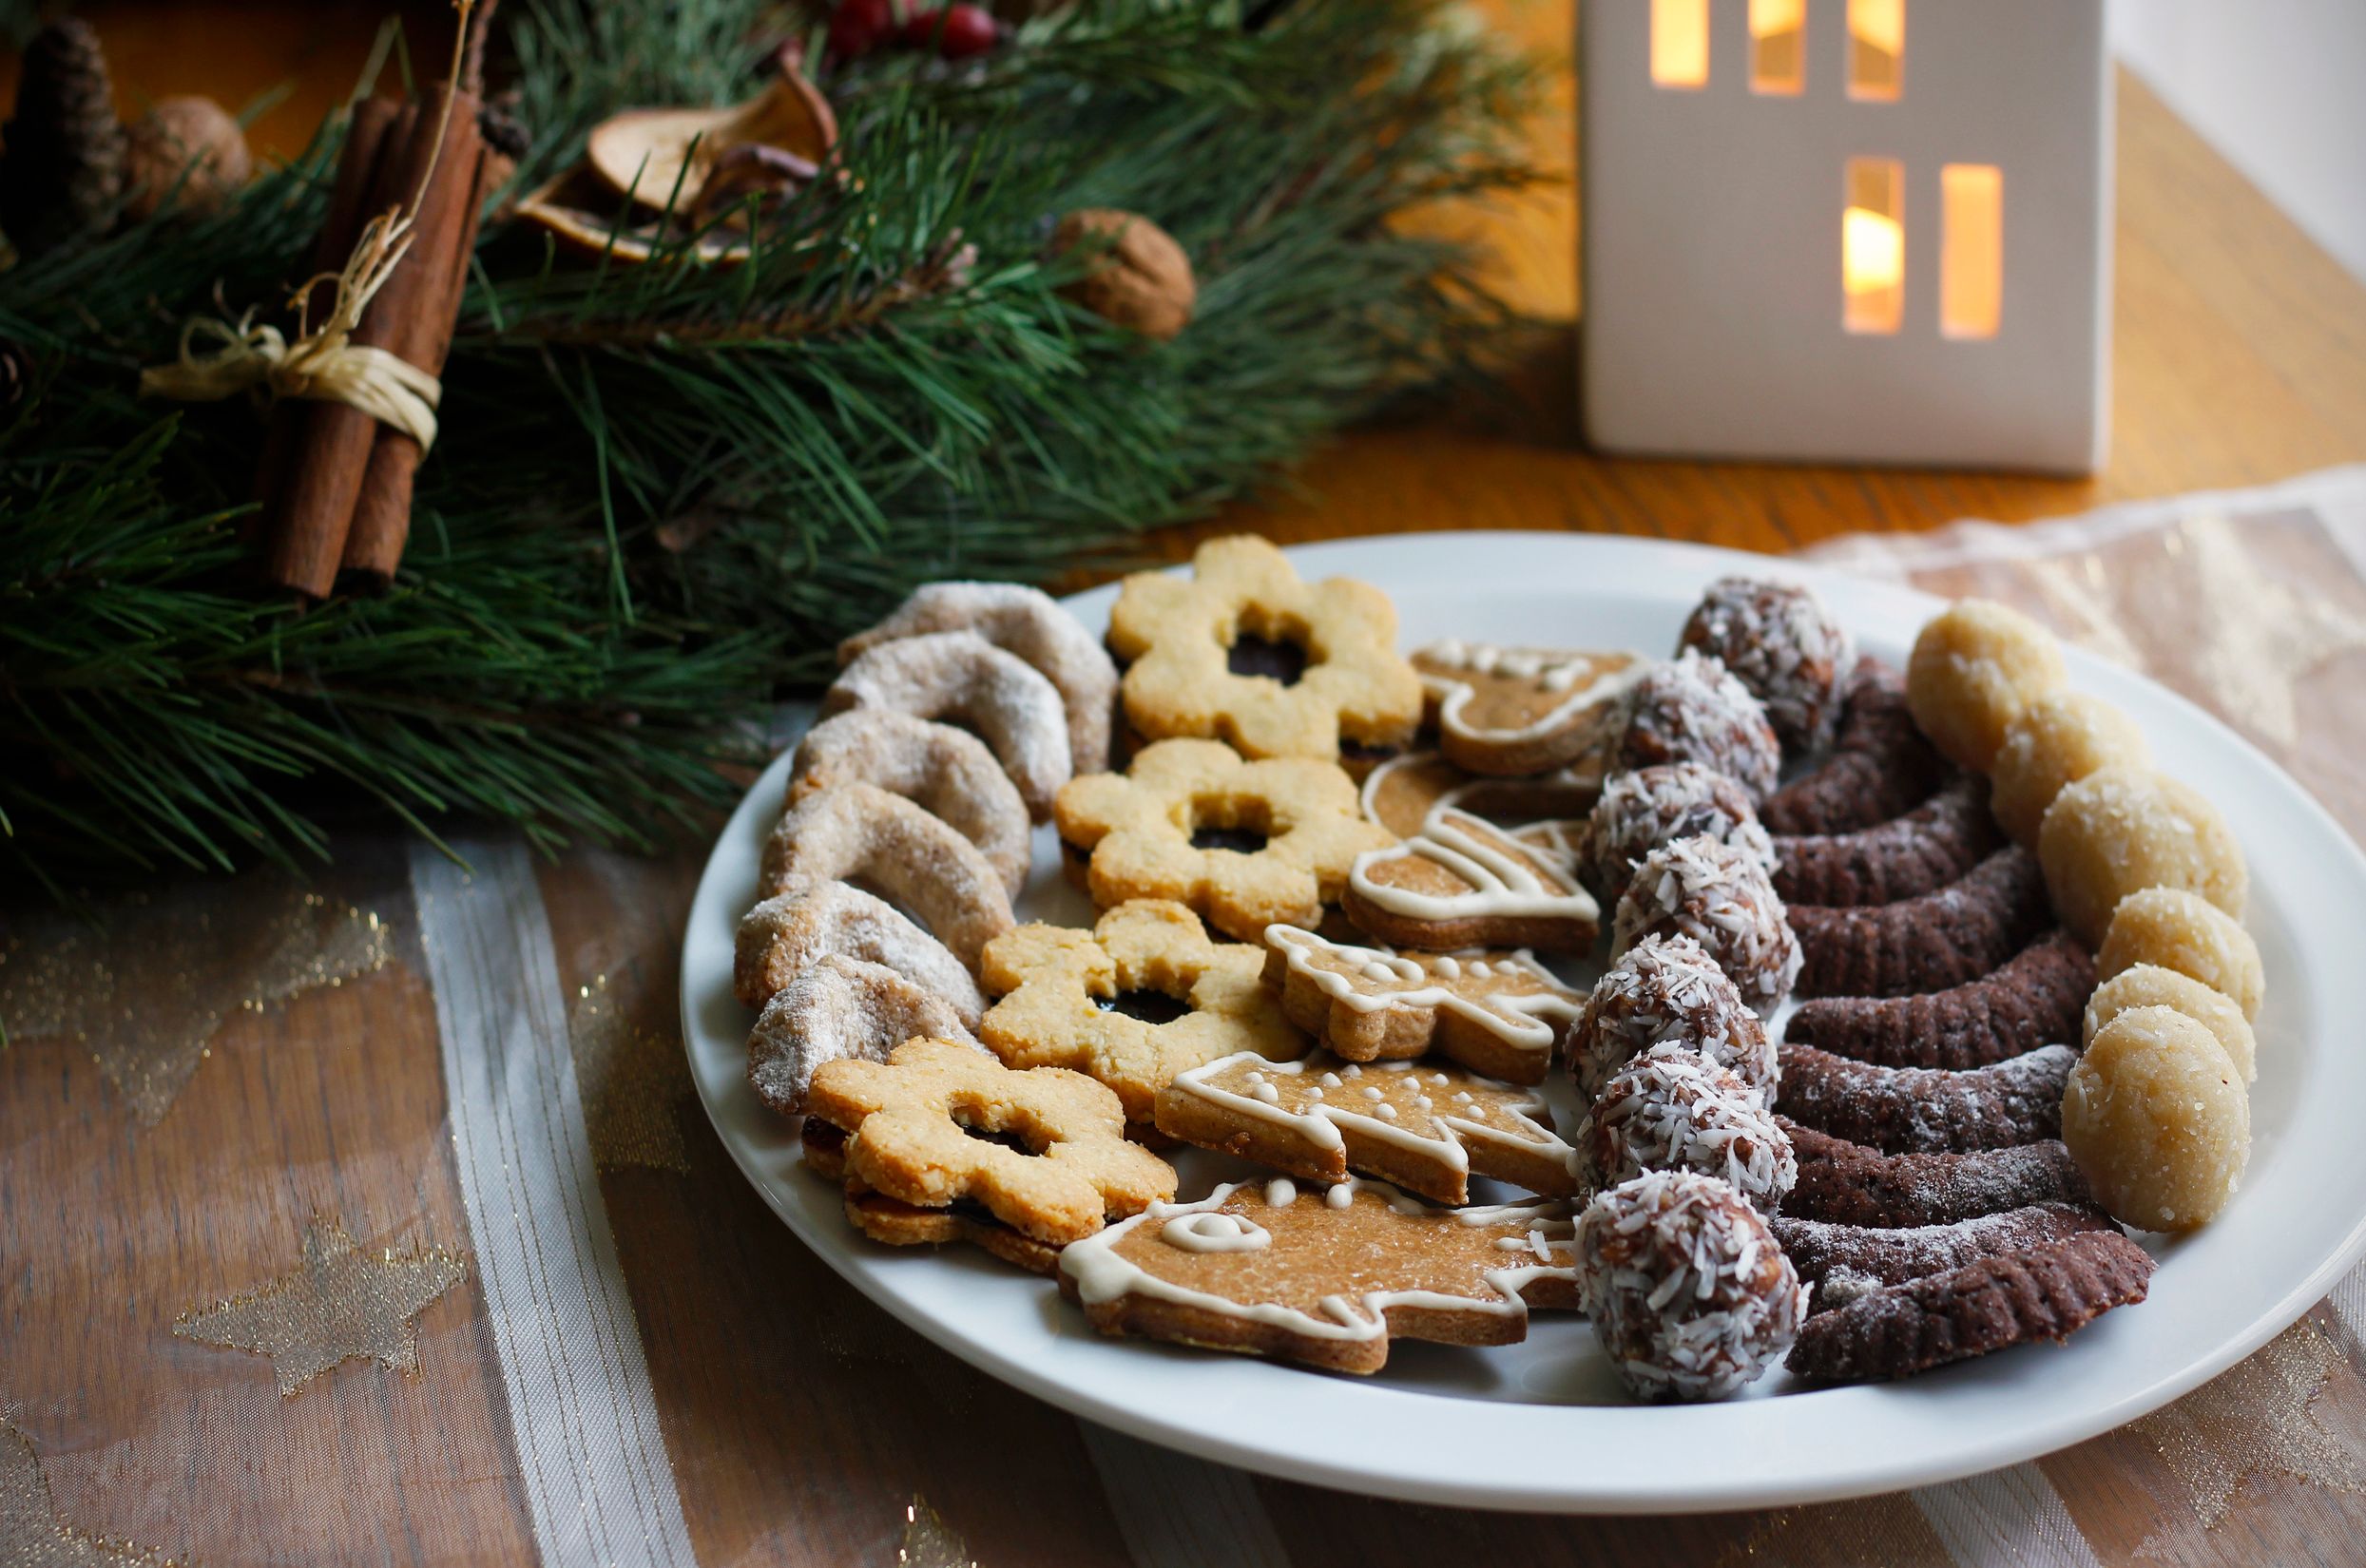
For those looking to impress at holiday gatherings, consider creating a cookie platter with a cohesive theme. You can choose a color palette like red, green, and gold, or stick to a singular theme such as “Winter Wonderland” or “Christmas Storybook.”
Exploring Flavor Options
While traditional sugar cookies have a classic vanilla flavor, there's no need to stick to the basics. Adding different extracts like almond, peppermint, or even citrus can elevate your cookies to new heights. For a more adventurous twist, try incorporating spices such as cinnamon, nutmeg, or ginger directly into the dough.
If you’re looking for something rich and decadent, consider adding cocoa powder to create chocolate sugar cookies. These pair beautifully with a mint-flavored icing for a classic holiday combination.
For those who enjoy a little zest in their treats, lemon or orange zest can be added to the dough or icing for a refreshing contrast to the sweetness of the cookie. Don't forget the importance of a pinch of salt; it can enhance all these flavors beautifully.
Decorating Techniques
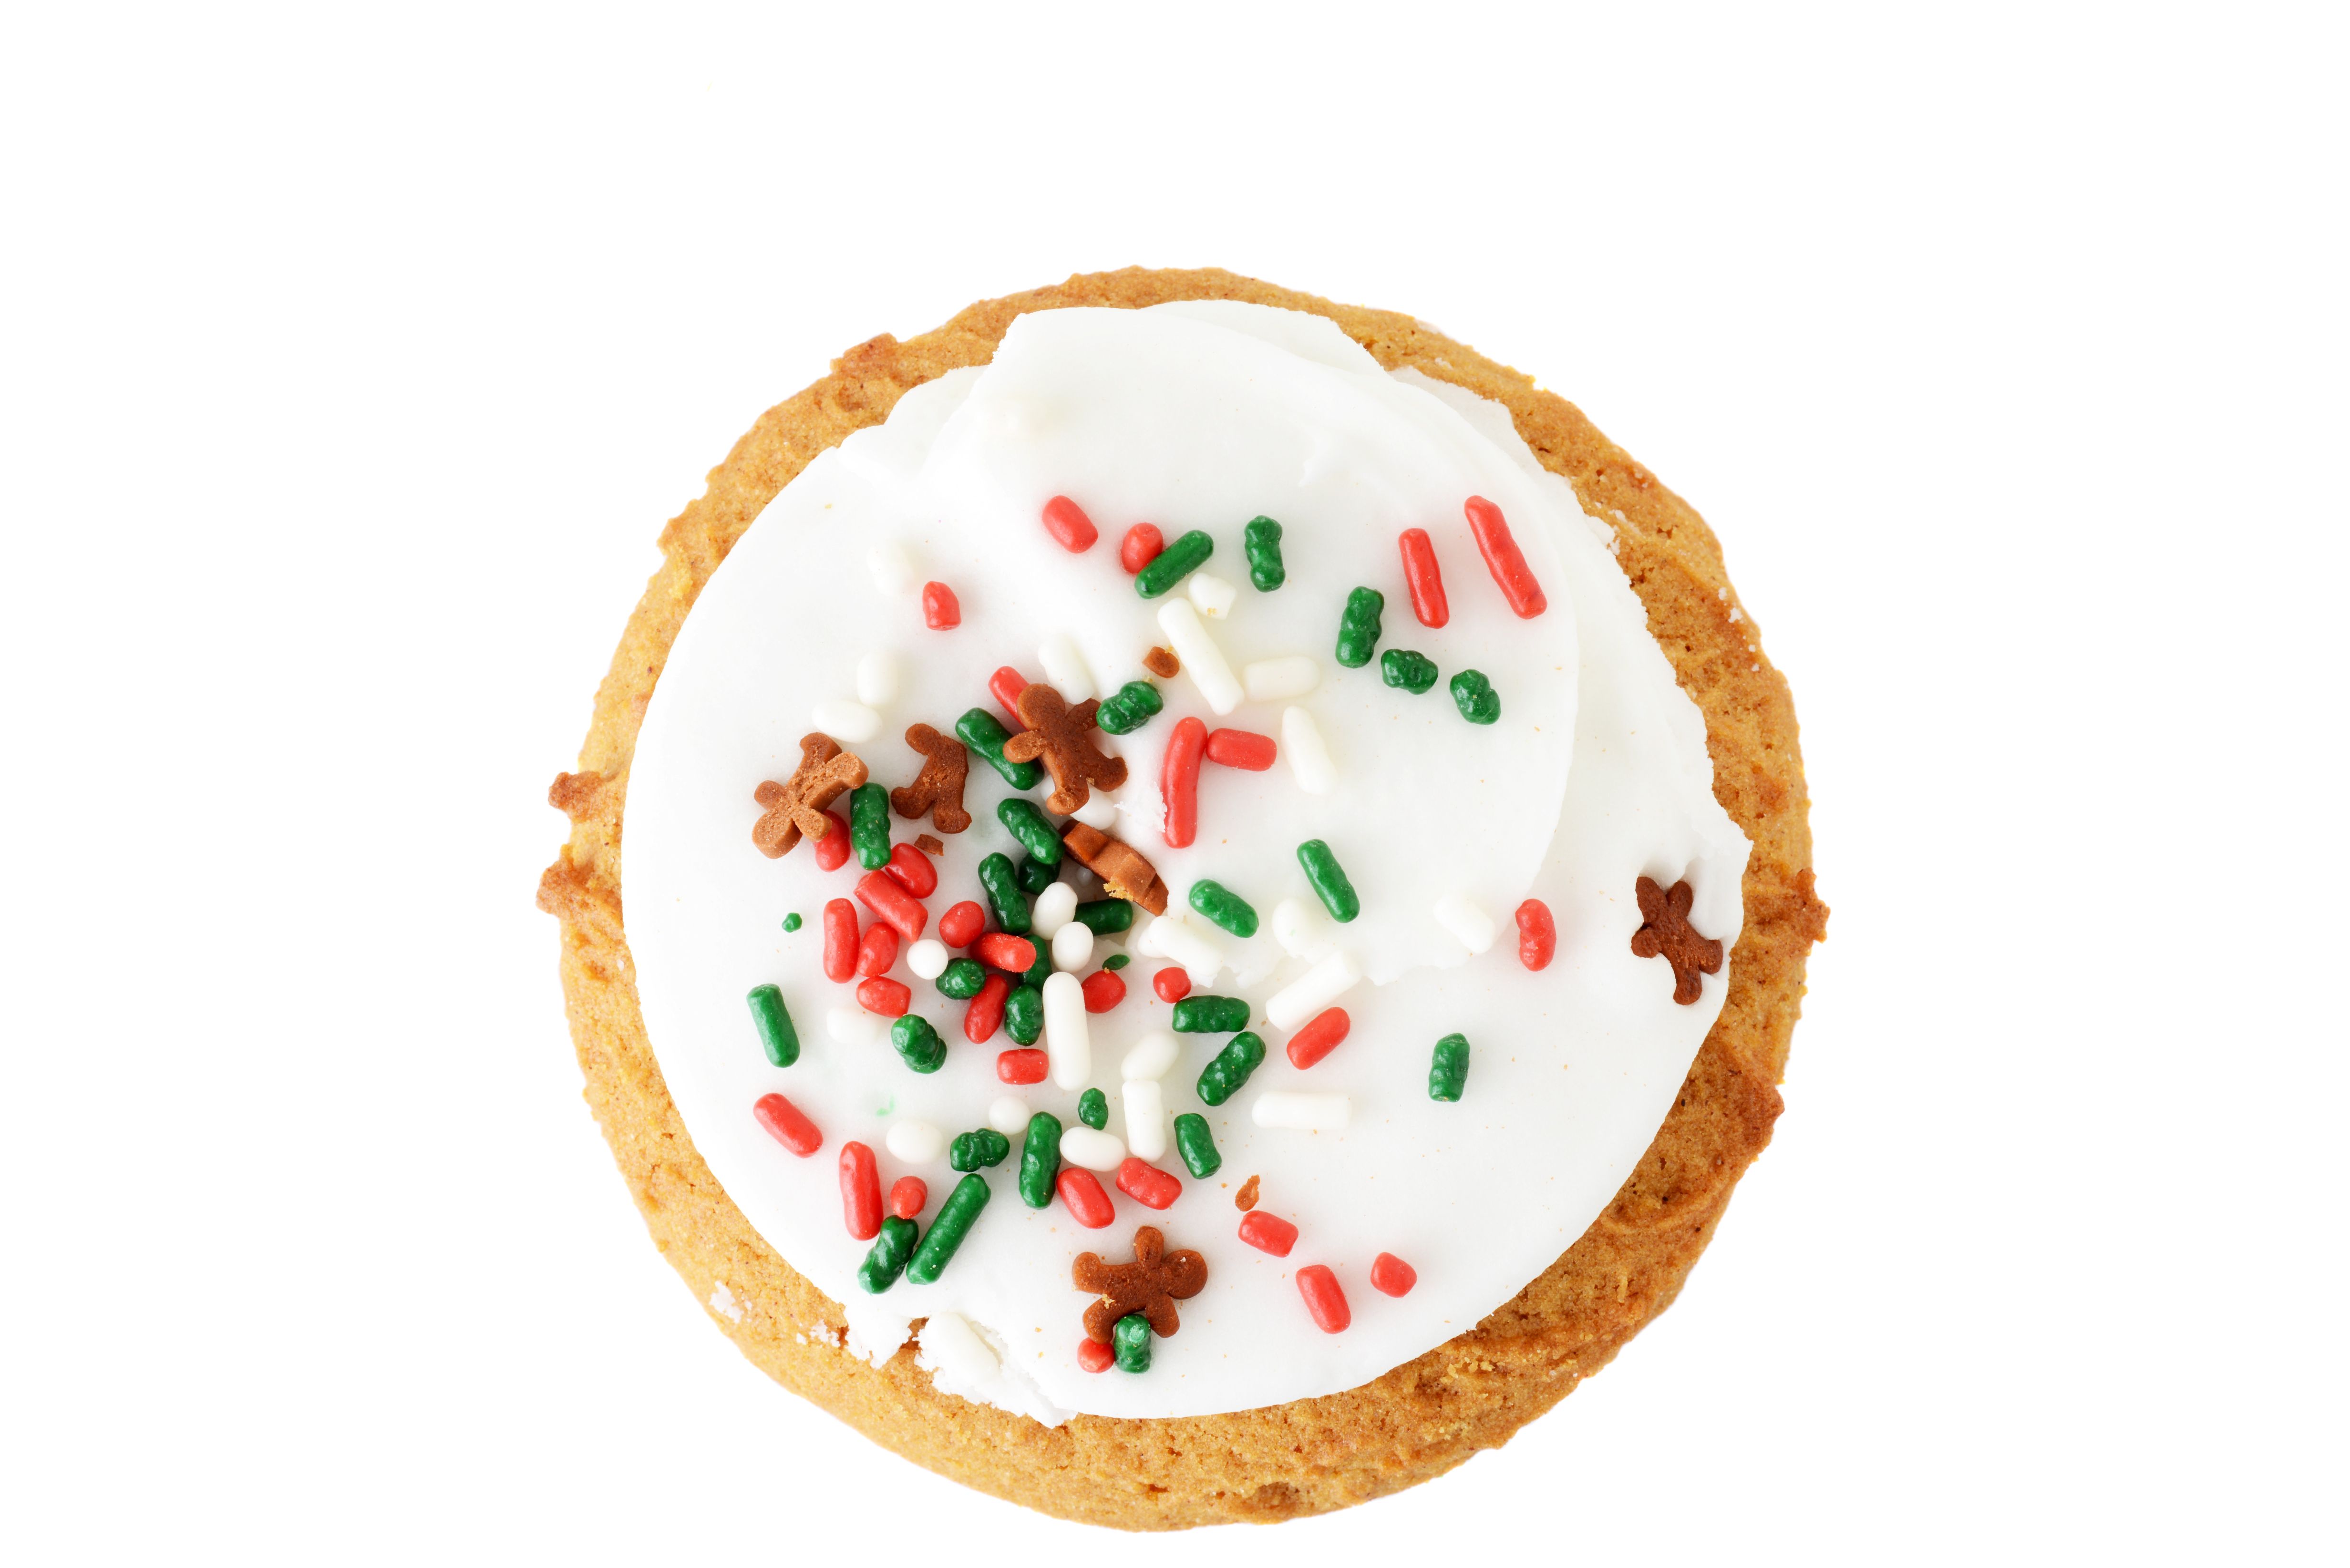
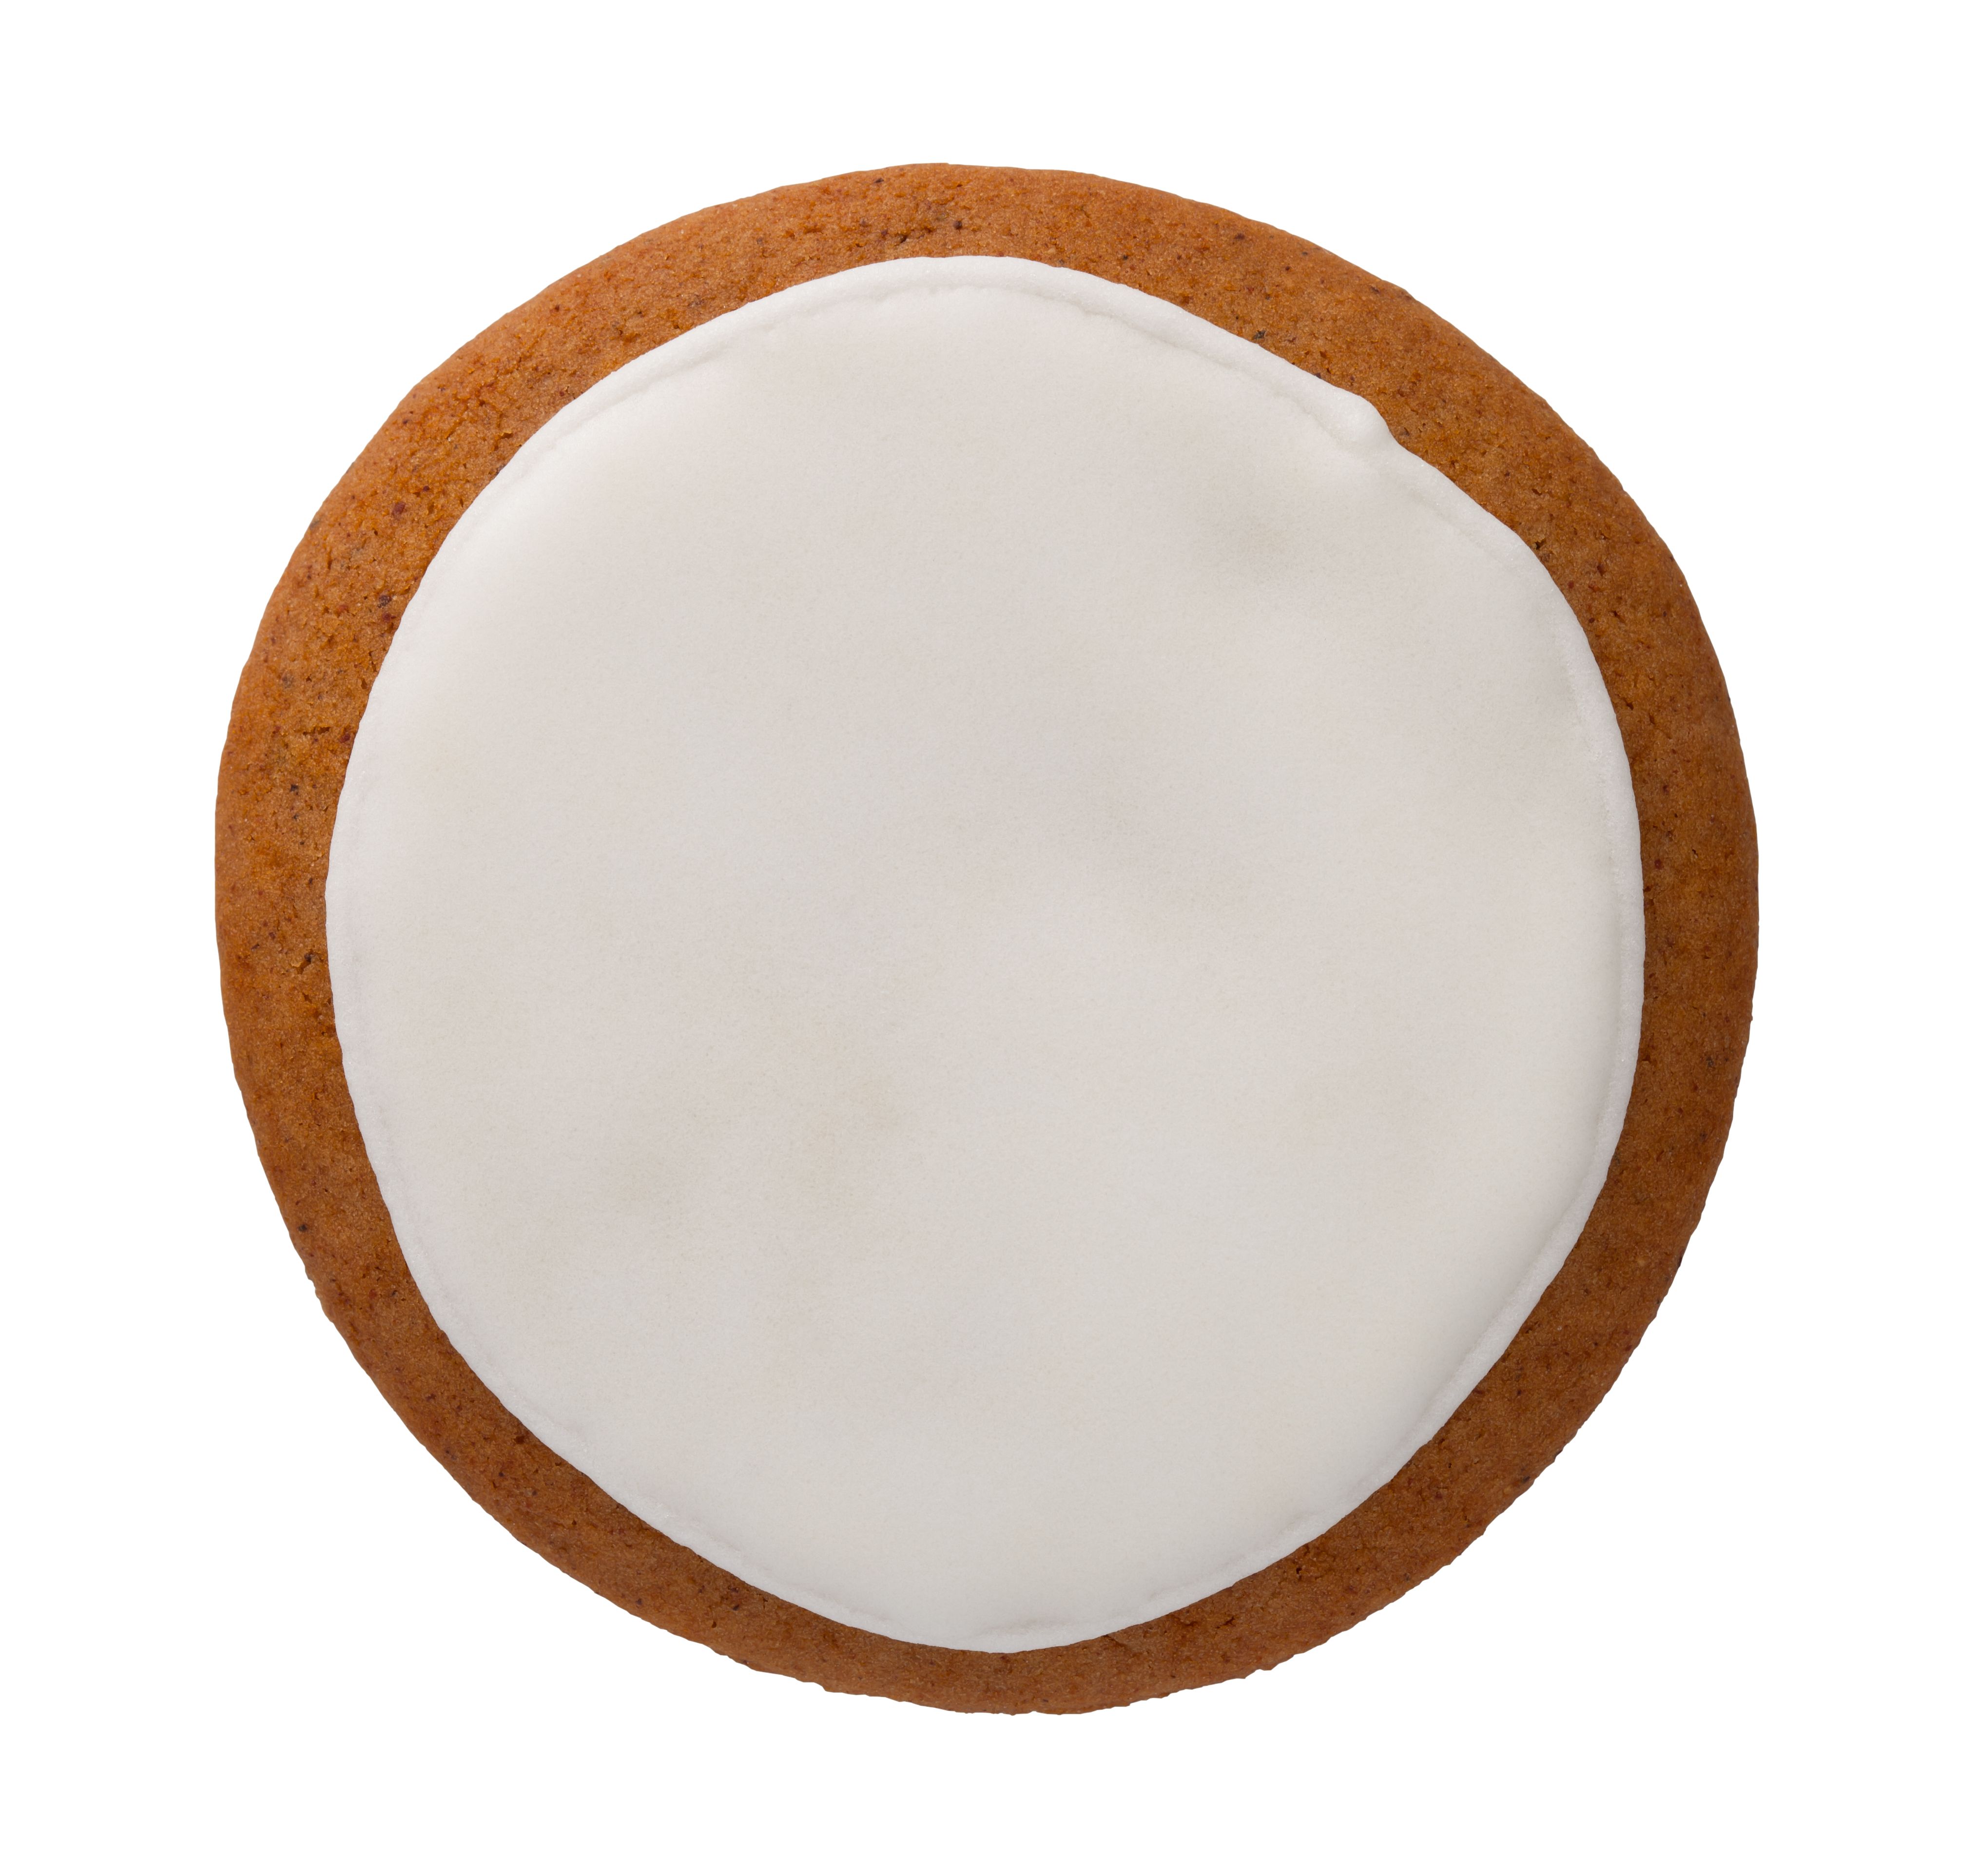
Decorating sugar cookies can be as simple or elaborate as you prefer. Beginners might start with spreading an even layer of icing across the surface of the cookie and using sprinkles or colored sugars for decoration. For more experienced bakers, piping intricate designs with royal icing can create stunning results.
An easy technique that yields impressive results is the "wet-on-wet" method. After flooding your cookie with a base layer of icing, you can drop dots of another color onto the wet surface and drag a toothpick through them to create hearts or marbled designs.
Consider using metallic edible paint for an elegant touch. Gold or silver accents can make your cookies stand out on any dessert table. Don’t be afraid to experiment with textures by using sanding sugar or crushed candy canes for added visual appeal.
Packaging and Gifting Ideas
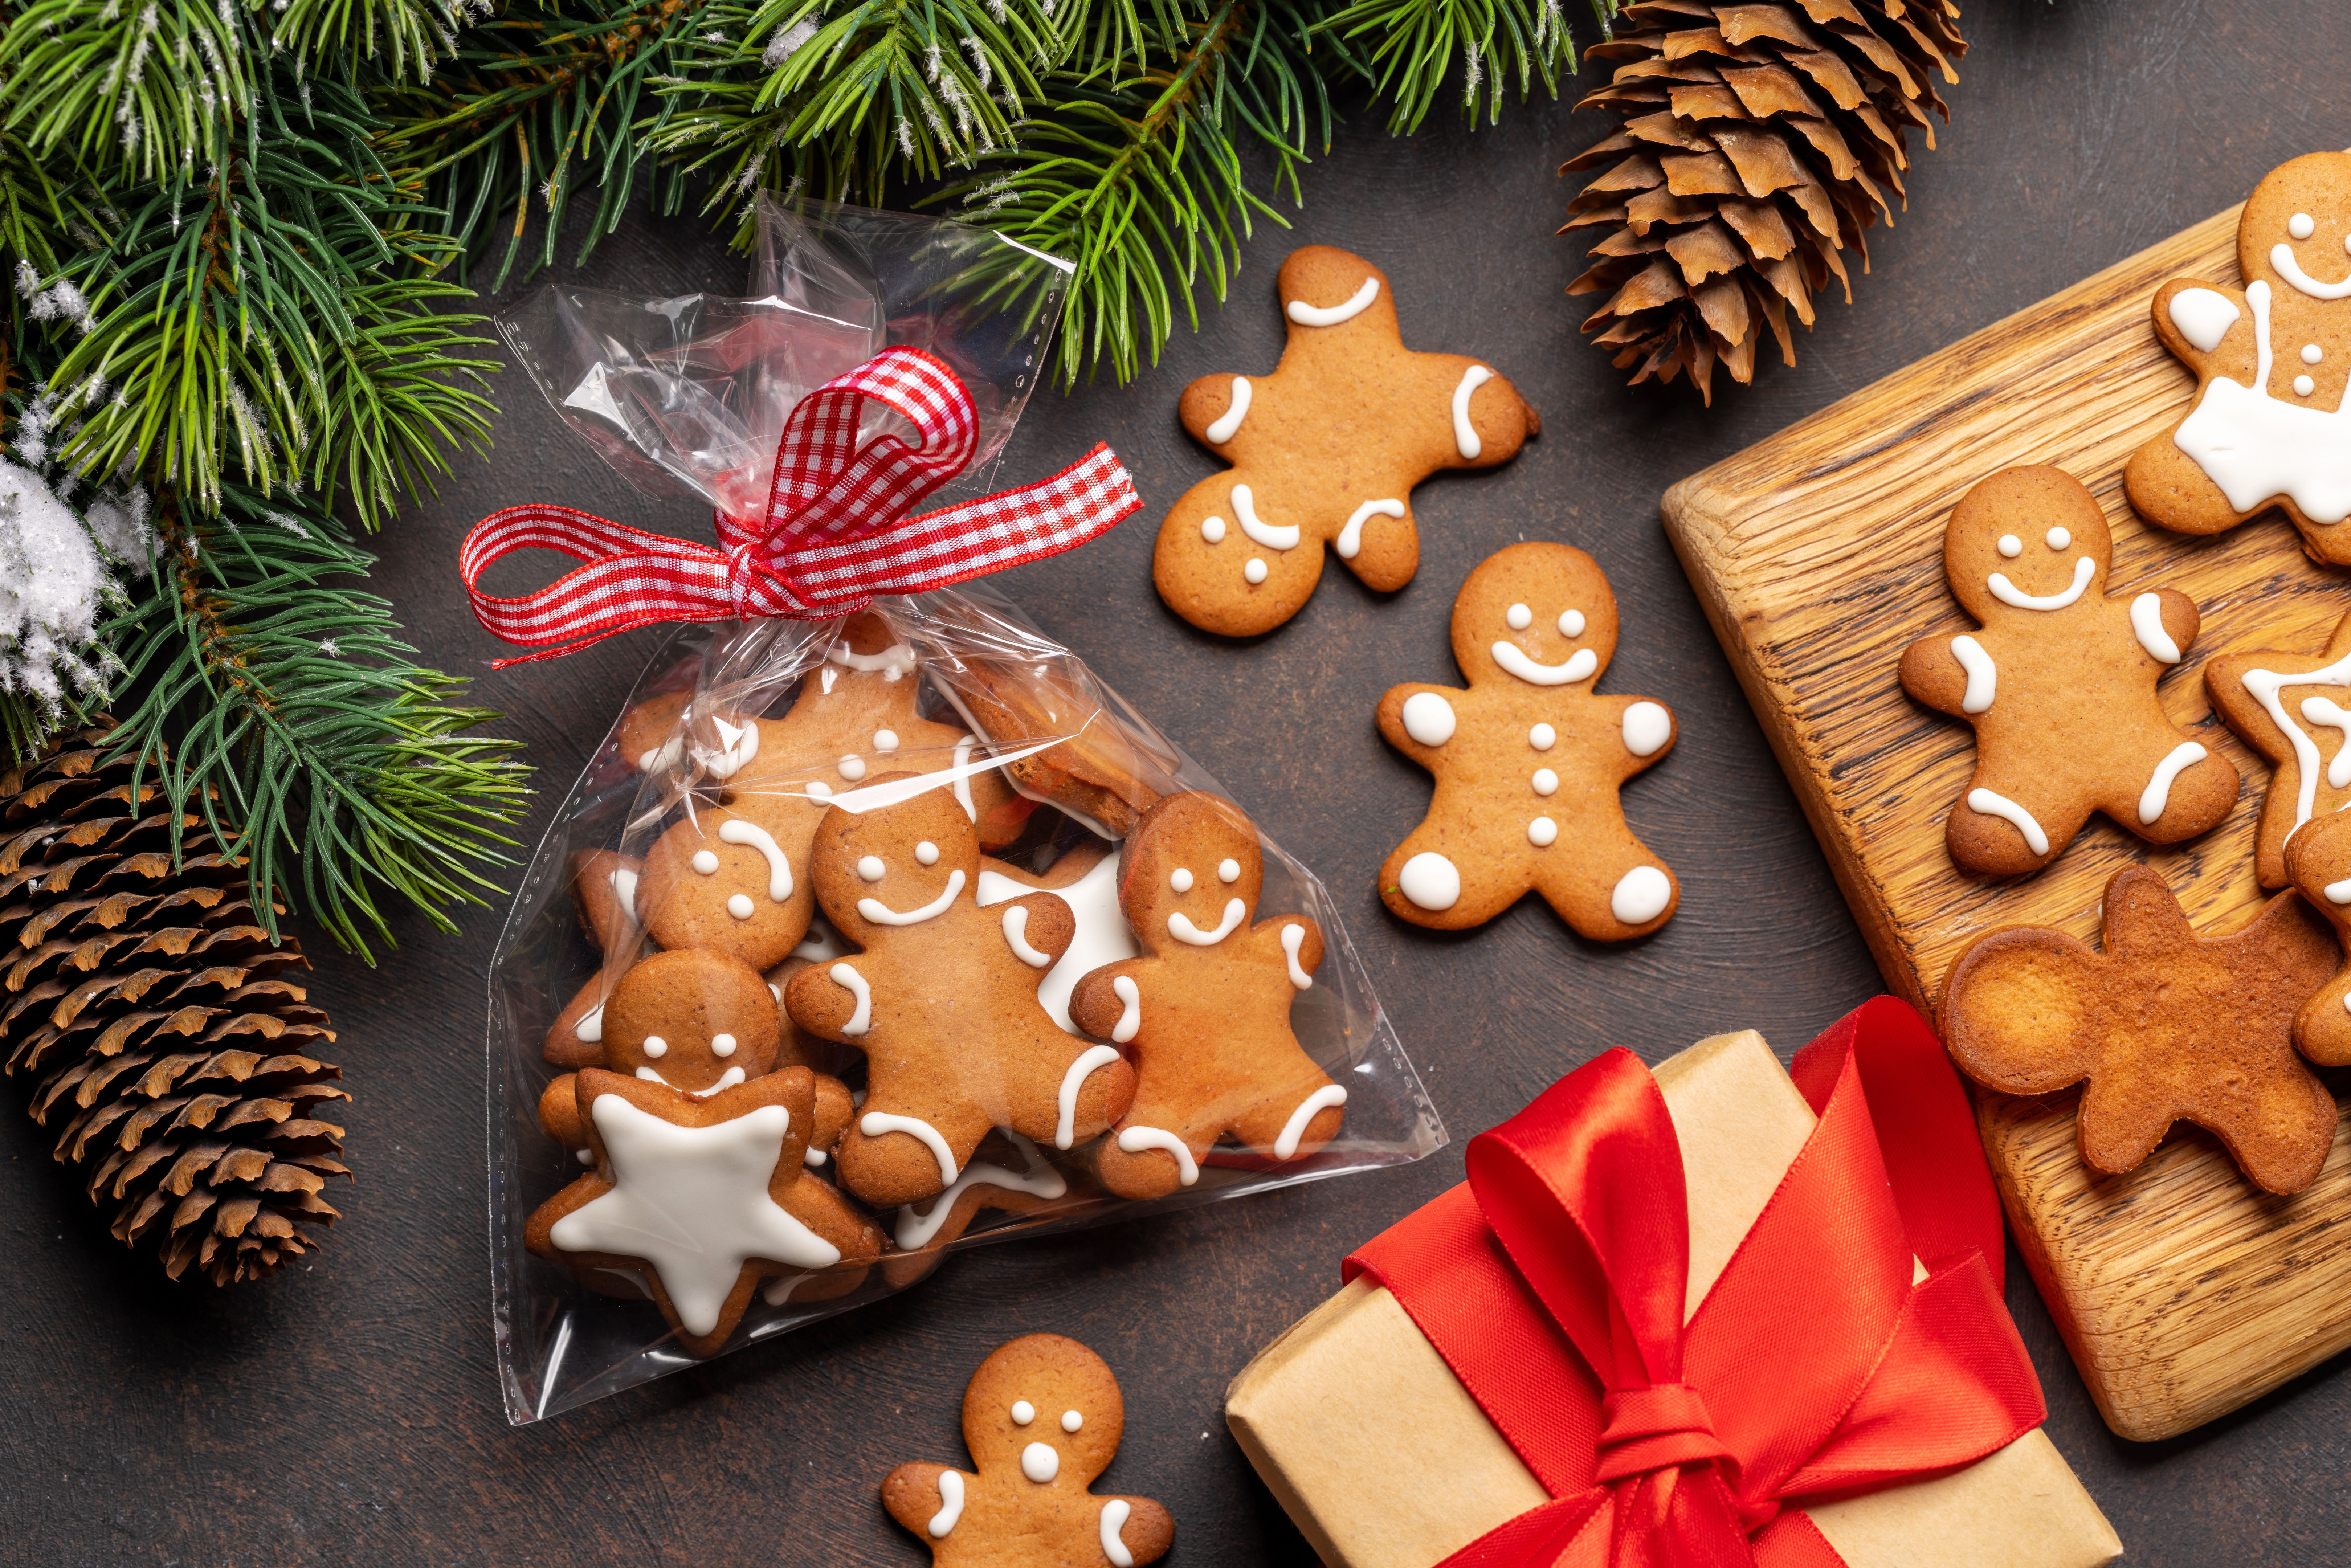
Once your cookies are beautifully decorated and have had time to set, presentation is key, especially if you plan to gift them. Consider packaging your cookies in clear cellophane bags tied with festive ribbons or in decorative tins lined with parchment paper.
Creating personalized labels or tags can add a thoughtful touch to your gift. Include the type of cookie and any special ingredients used, as well as a short message wishing the recipient a happy holiday season.
For a larger gift, consider compiling an assortment of different flavored and decorated cookies into a holiday gift basket. This not only showcases your baking skills but also provides the recipient with a delightful variety of treats.
Tips for Baking Success
To ensure your sugar cookies turn out perfect every time, start by chilling your dough before rolling it out. This helps prevent spreading and ensures crisp edges. Roll out your dough evenly and use parchment paper to prevent sticking.
Baking times can vary depending on the size and thickness of your cookies. Keep an eye on them and remove them from the oven as soon as the edges start to turn golden brown. Allow them to cool completely before decorating.
Finally, store your decorated cookies in an airtight container at room temperature. They can last for up to two weeks while maintaining their delightful flavor and texture.